zappzy Support Center > Content > Create posts > Create a post > Create a post on TikTok

Video or step-by-step guide with screenshots. Your choice. Same goal, different paths.
Step-by-step guide
Once you're logged in to zappzy, you'll see an orange CREATE POST button in the left menu. Click on it.
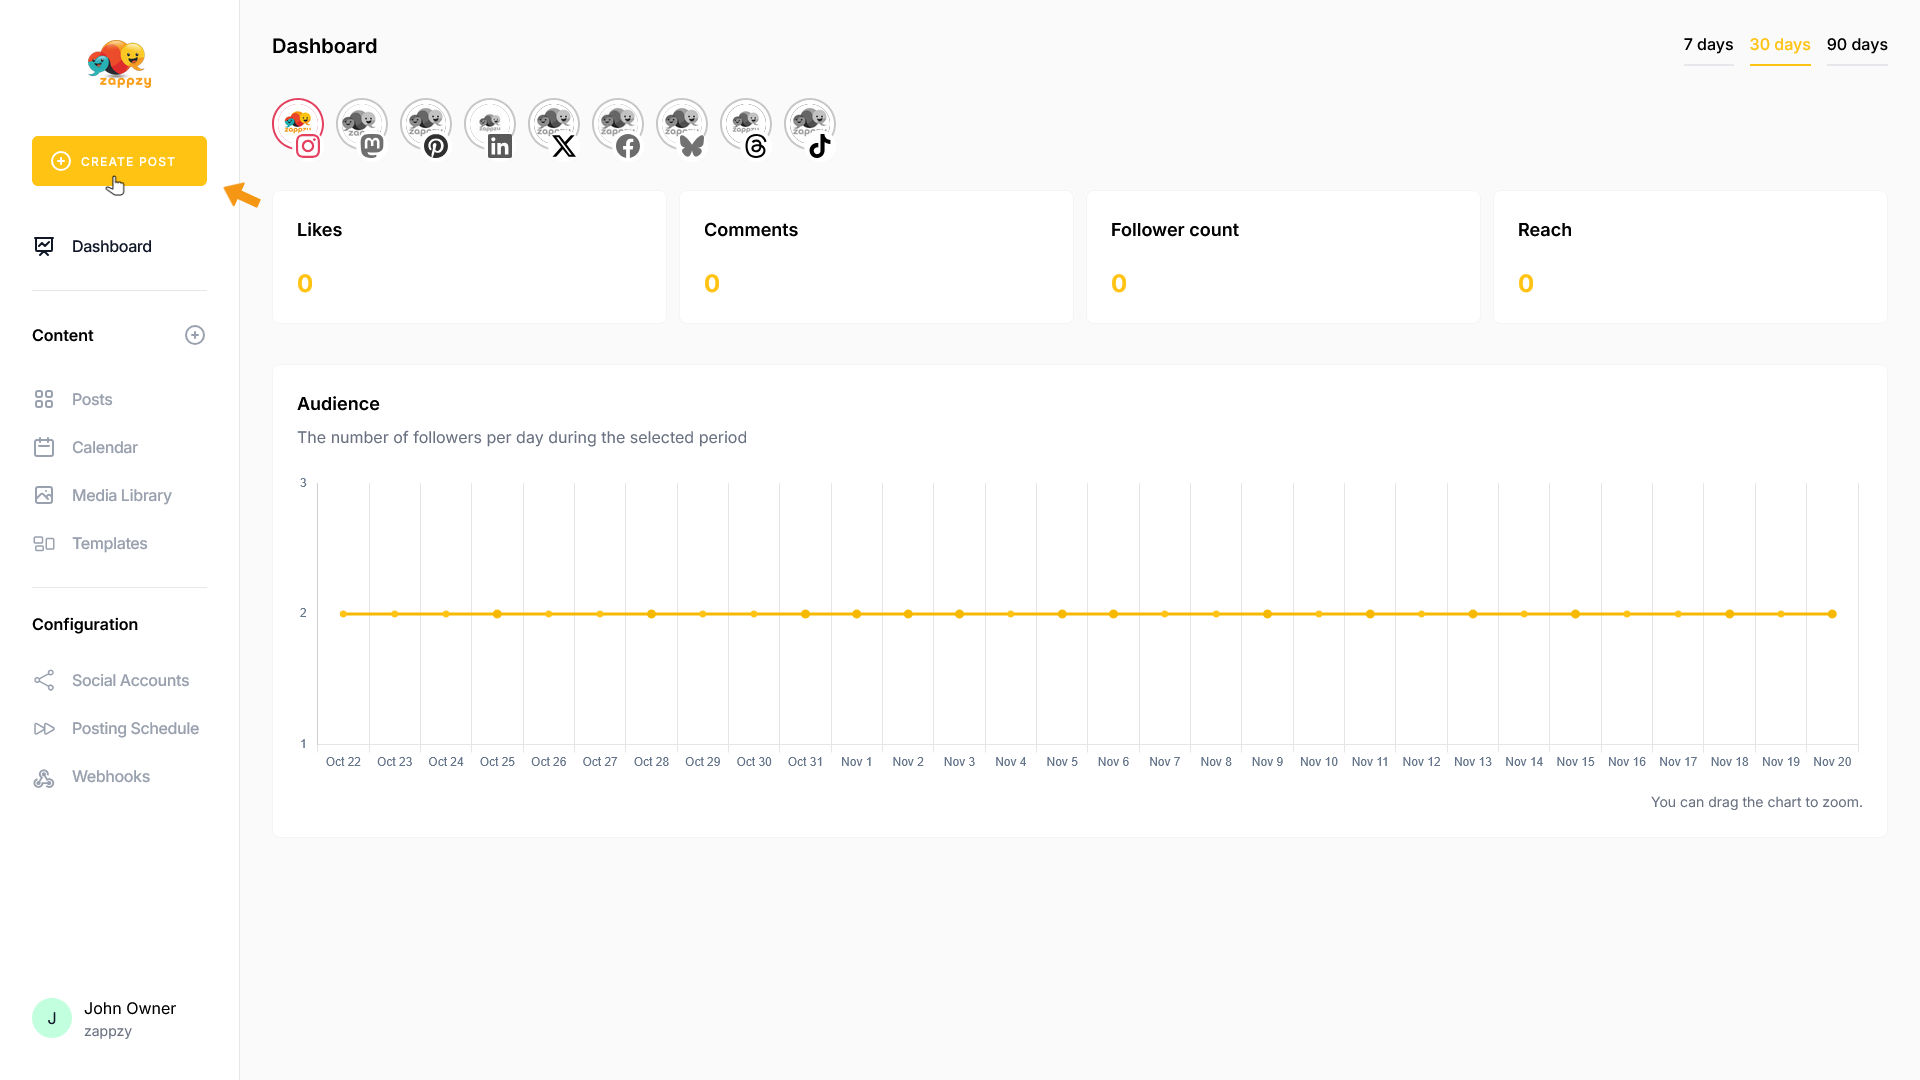
The Your post overview will appear on your main screen.
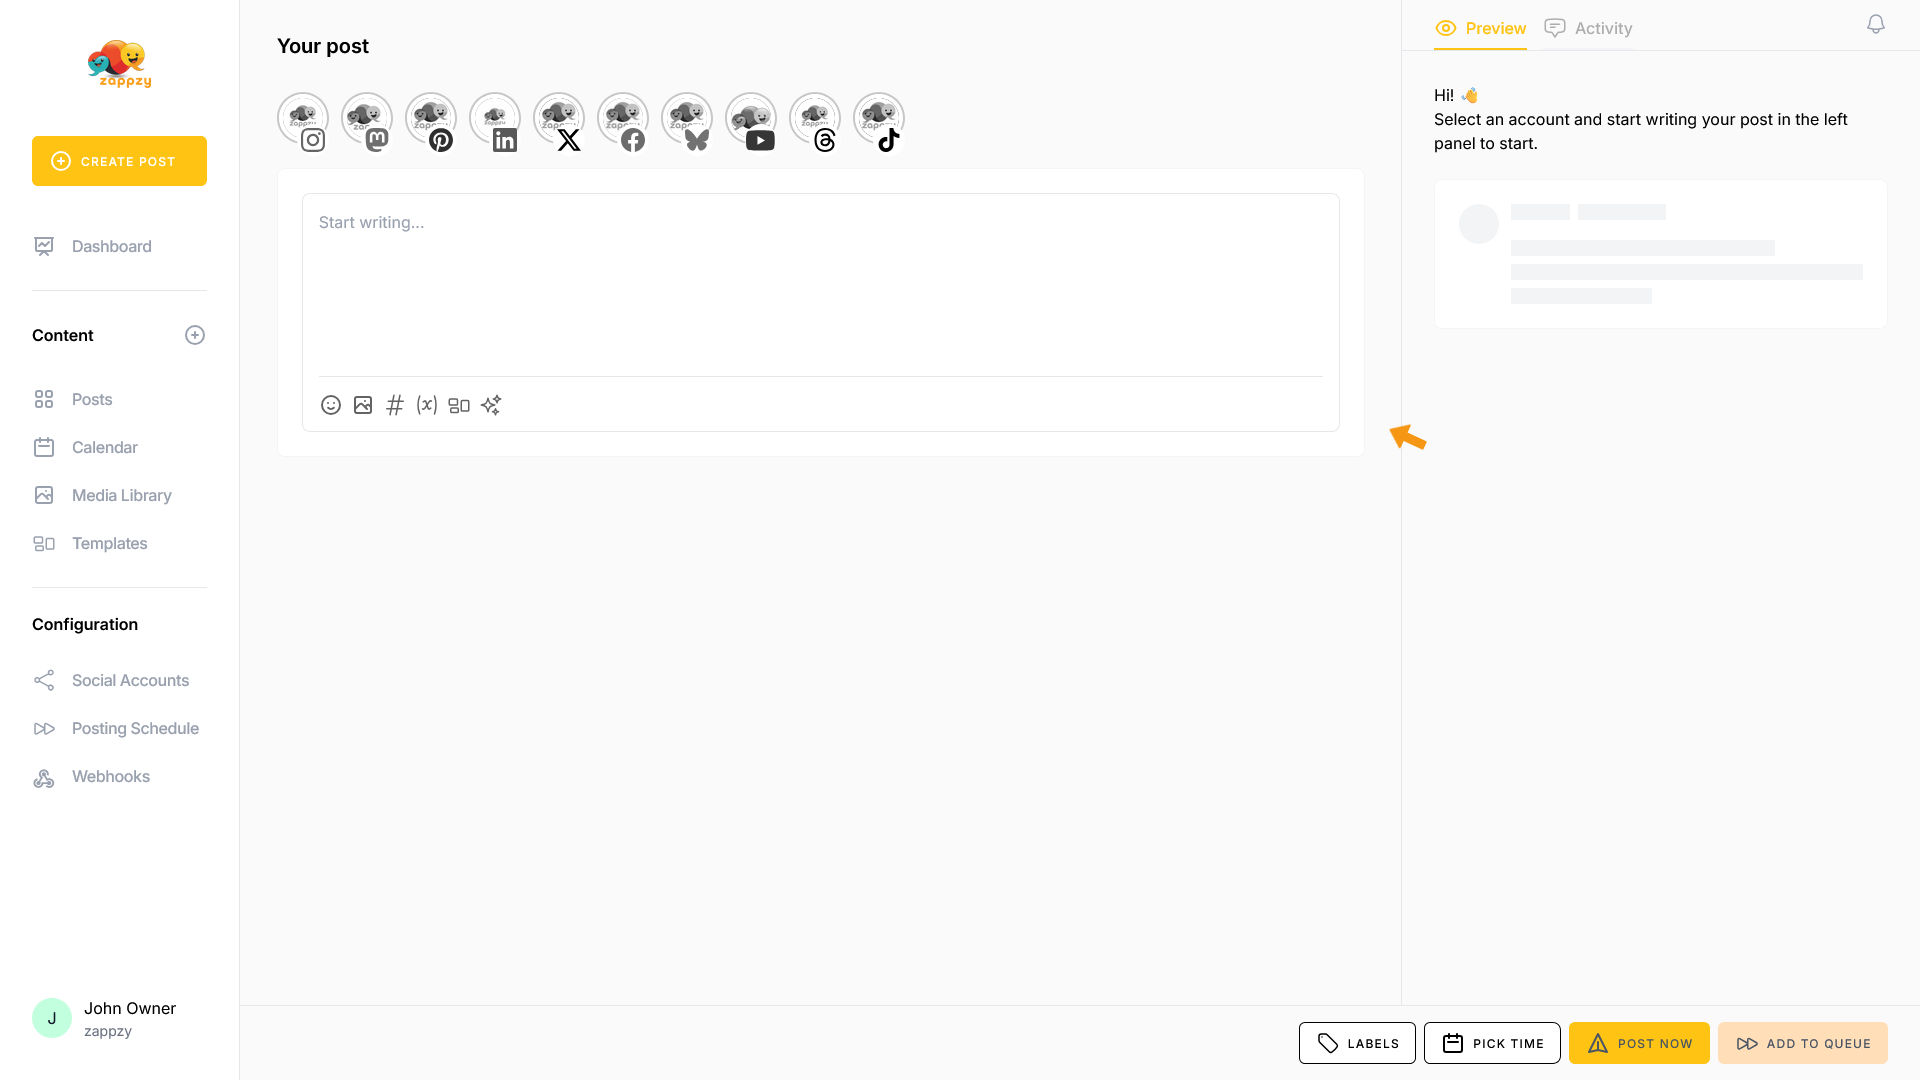
At the top of the post editor, you'll see your connected social media platforms. Click on the TikTok icon.
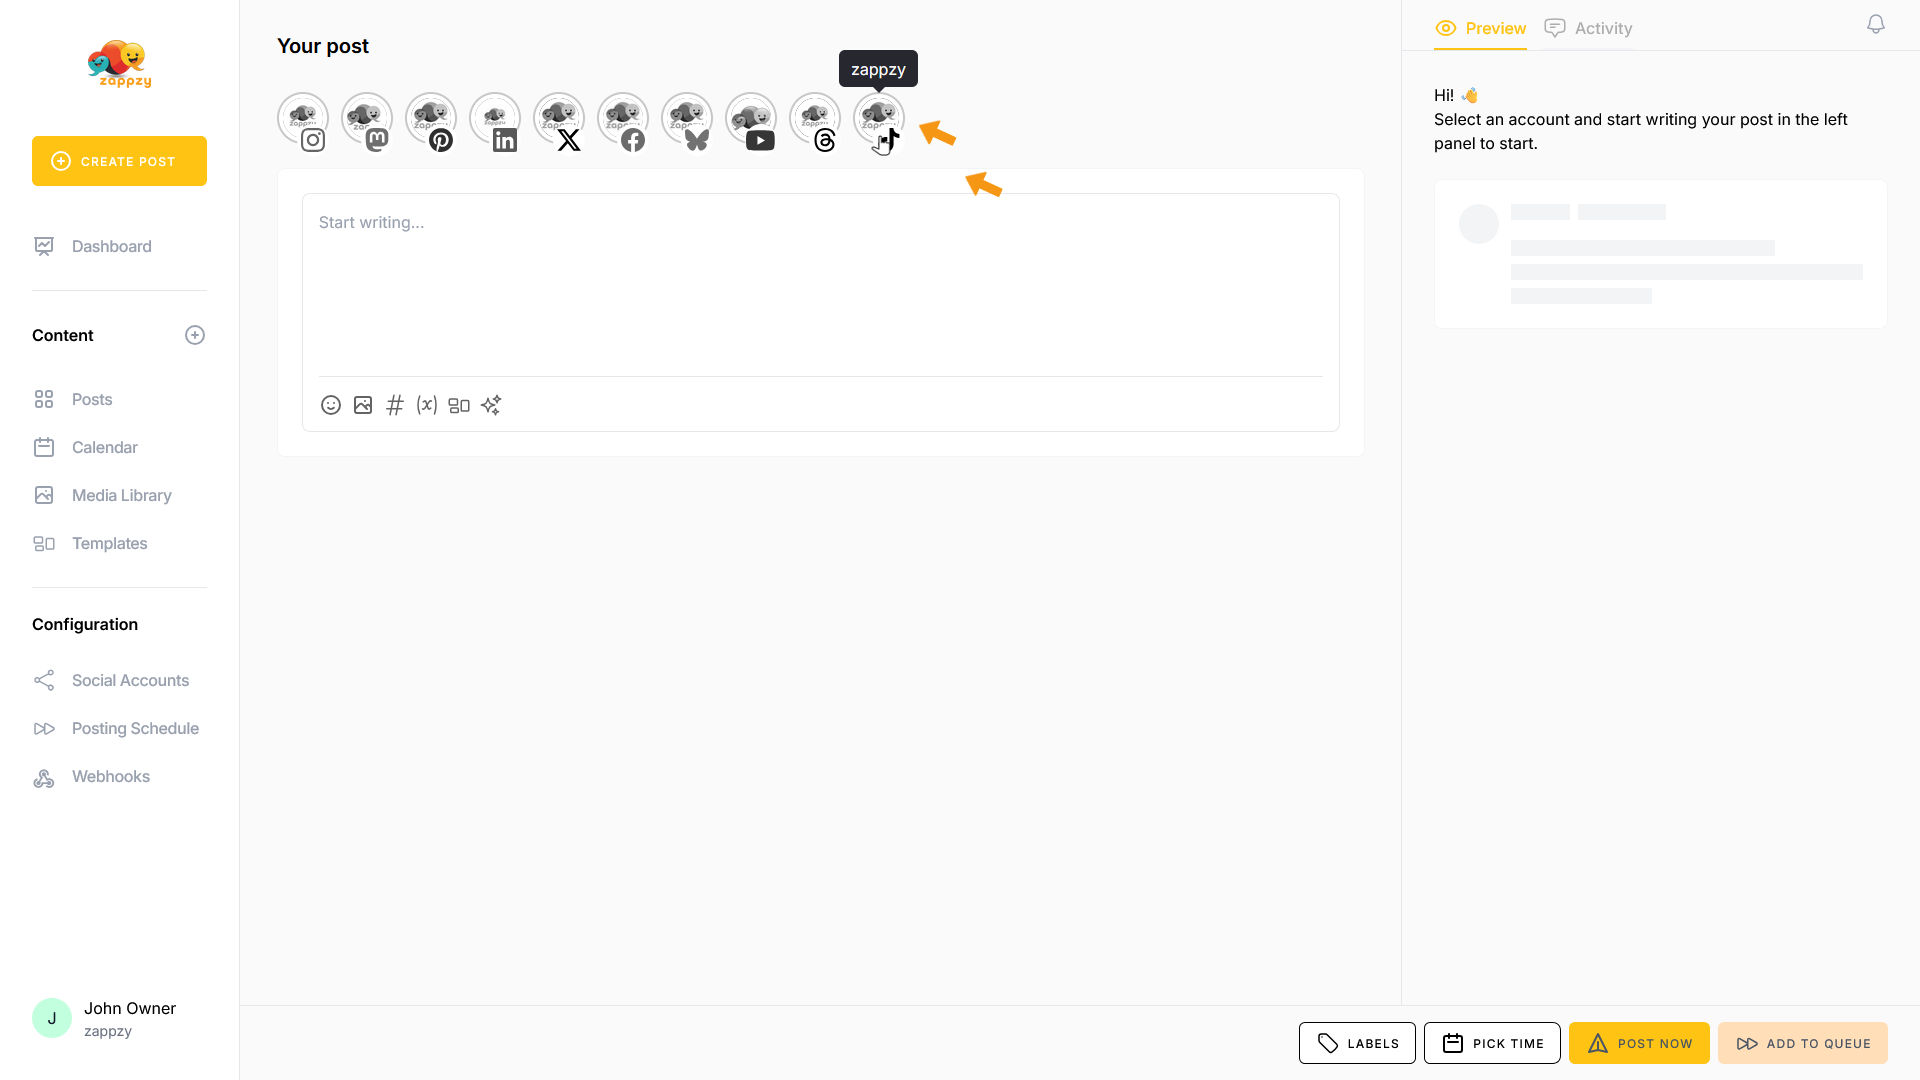
The TikTok icon is now active at the top, and your TikTok options appear below.
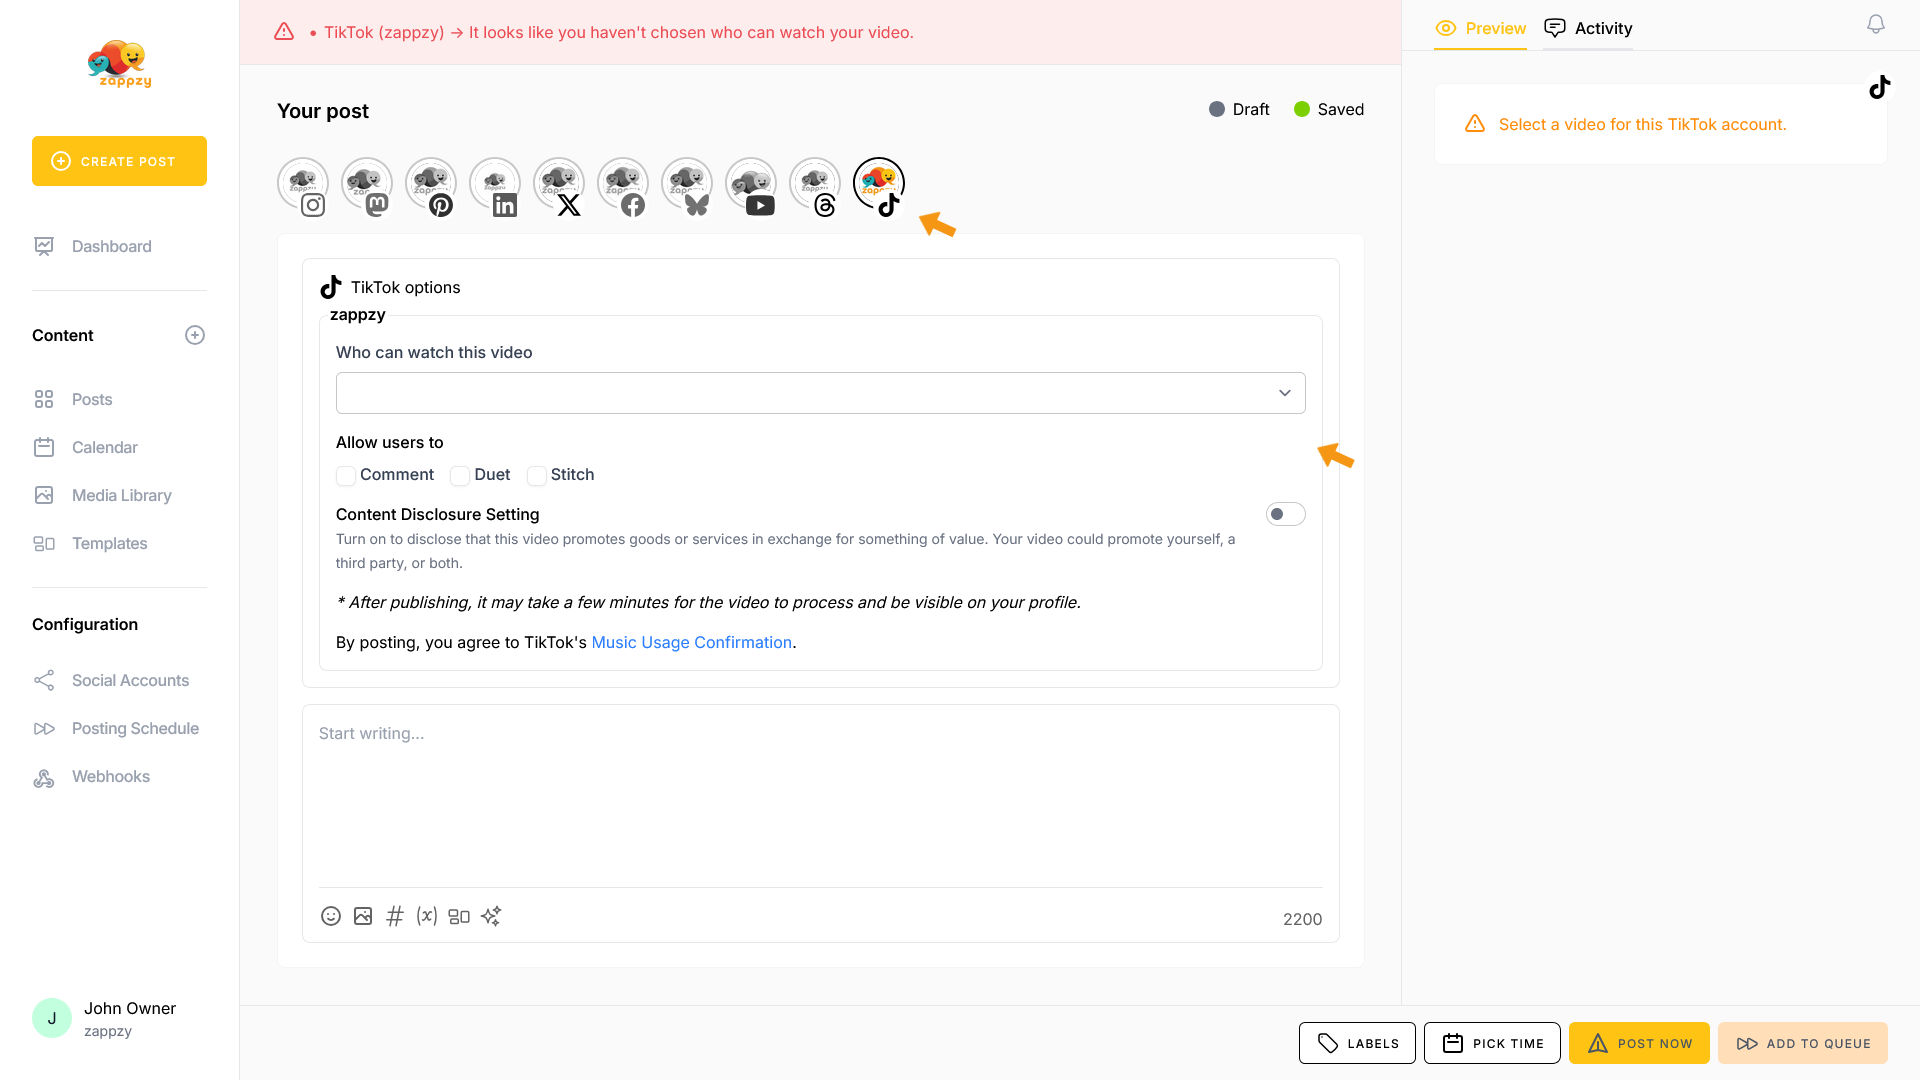
Choose who can watch this video: Everyone, Friends, or Only you.
What's what?
Everyone: Your video is public and can be discovered by anyone on TikTok.
Friends: Only people you follow who also follow you back can see your video.
Only you: The video is private and visible only to you—useful for drafts or testing.

Choose how people can interact with your video: Comment, Duet, and Stitch. Enable or disable each option individually.
What's what?
Comment: Viewers can leave comments on your video. Disable this to turn off comments.
Duet: Other users can create a split-screen video alongside yours—great for collaborations and reactions.
Stitch: Other users can clip and integrate part of your video into their own content—perfect for expanding reach.
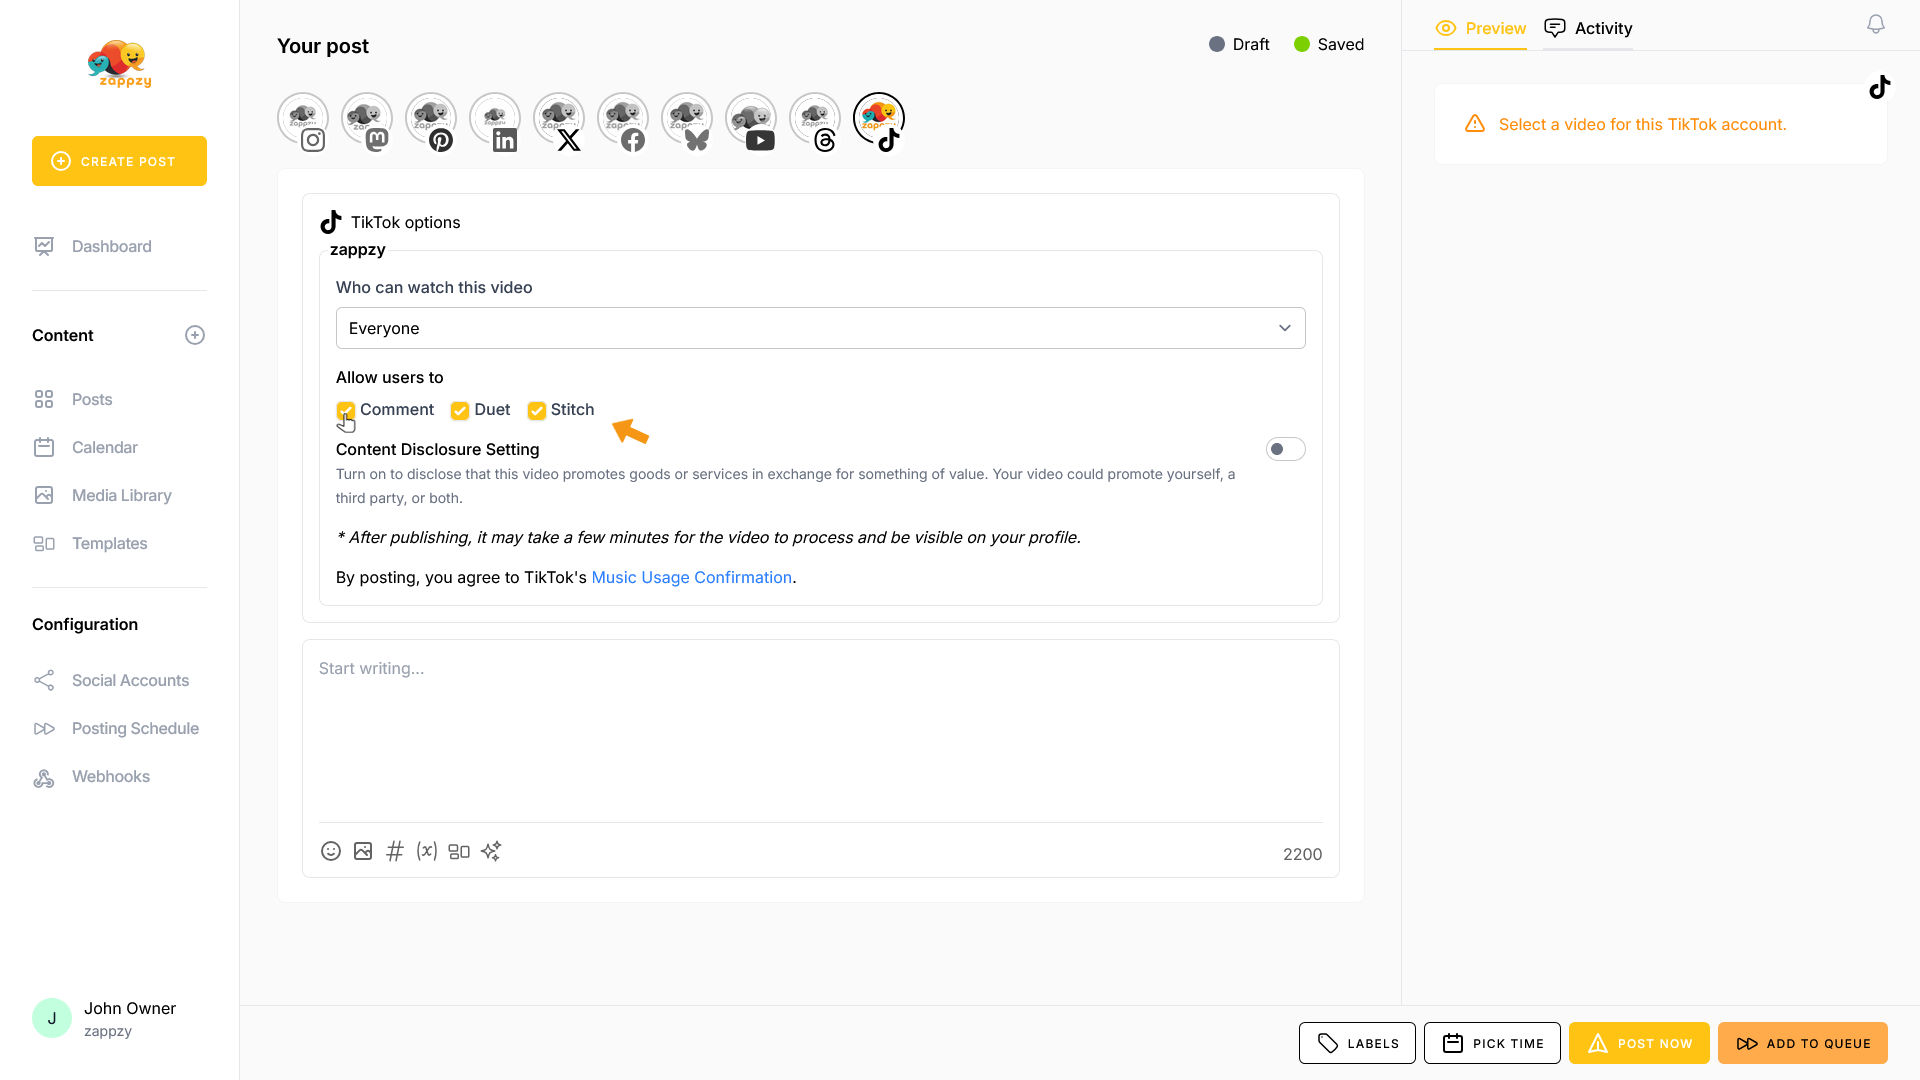
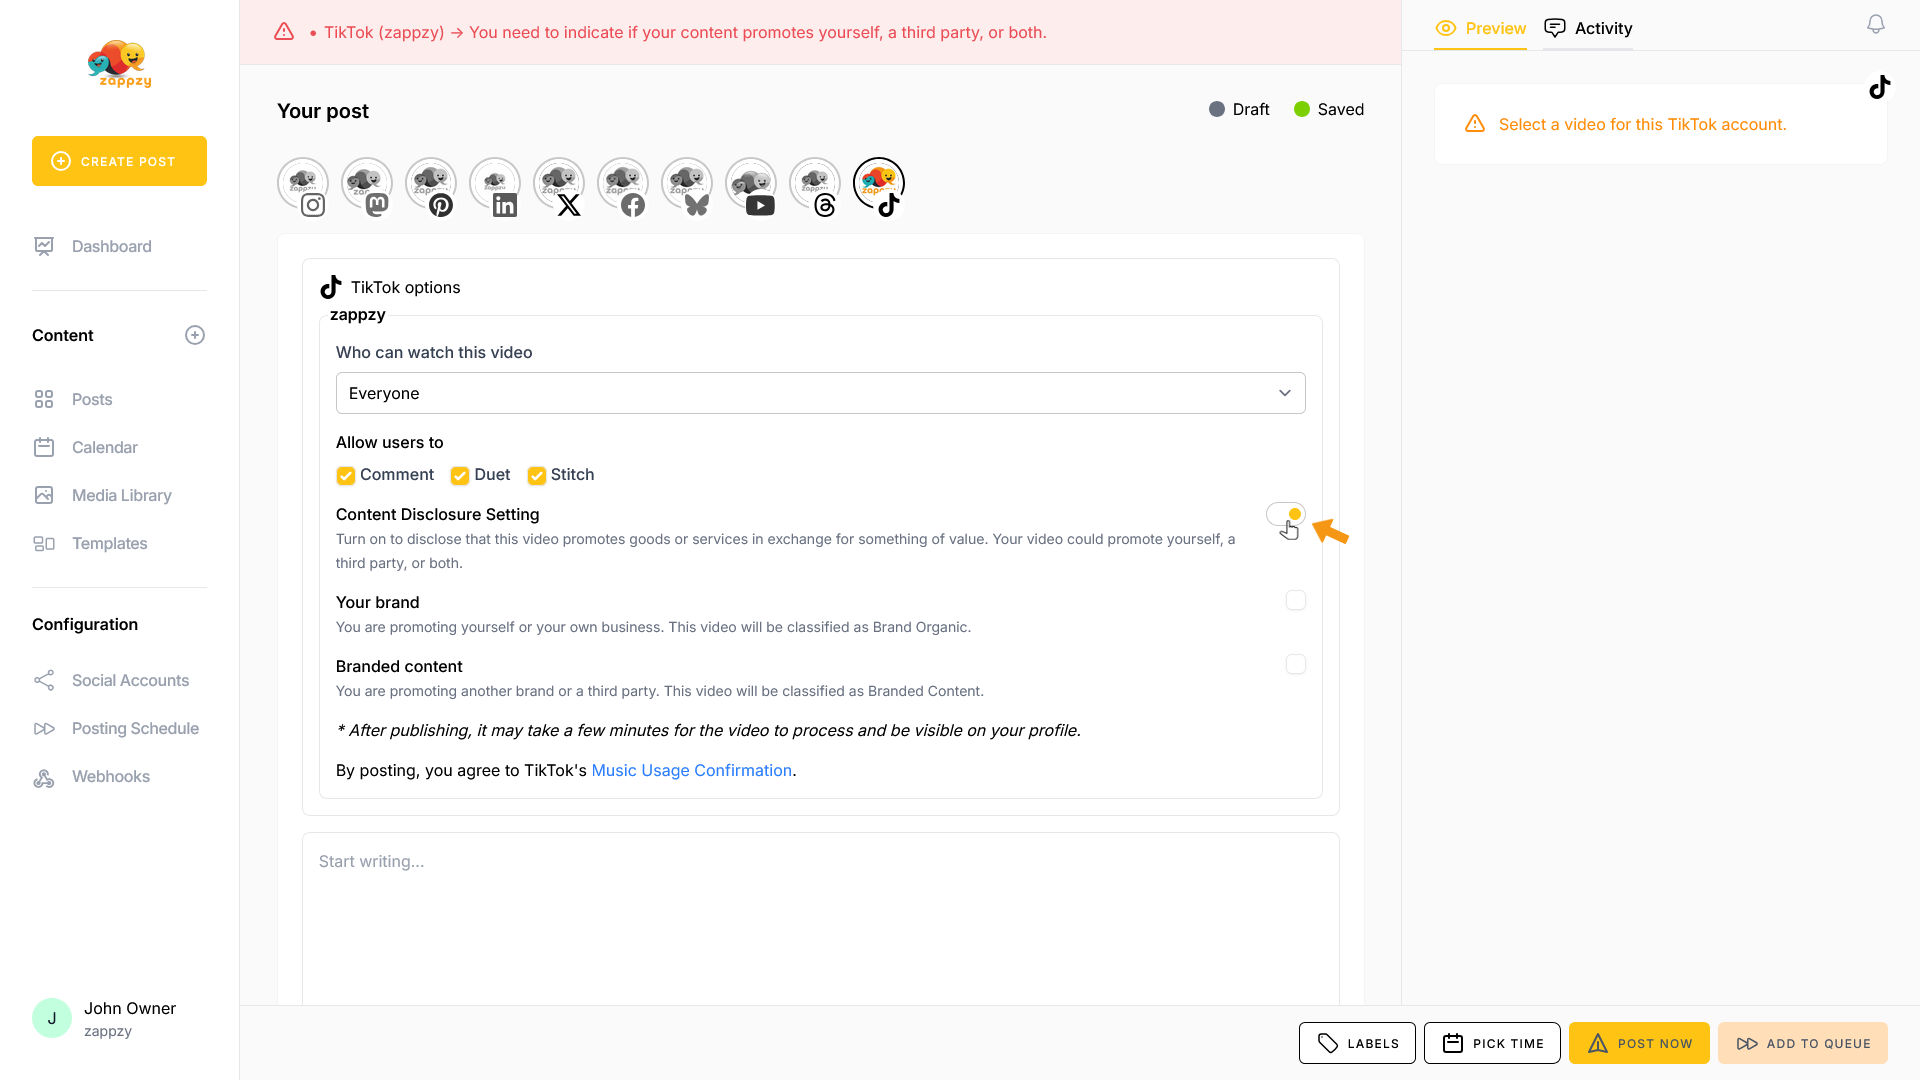
Decide if you need to disclose promotional content. Enable Content Disclosure Setting if you're promoting a brand (yours or through a paid partnership). This ensures transparency by labeling your video as promotional.
For details, see TikTok's guide: Promoting a brand, product, or service.
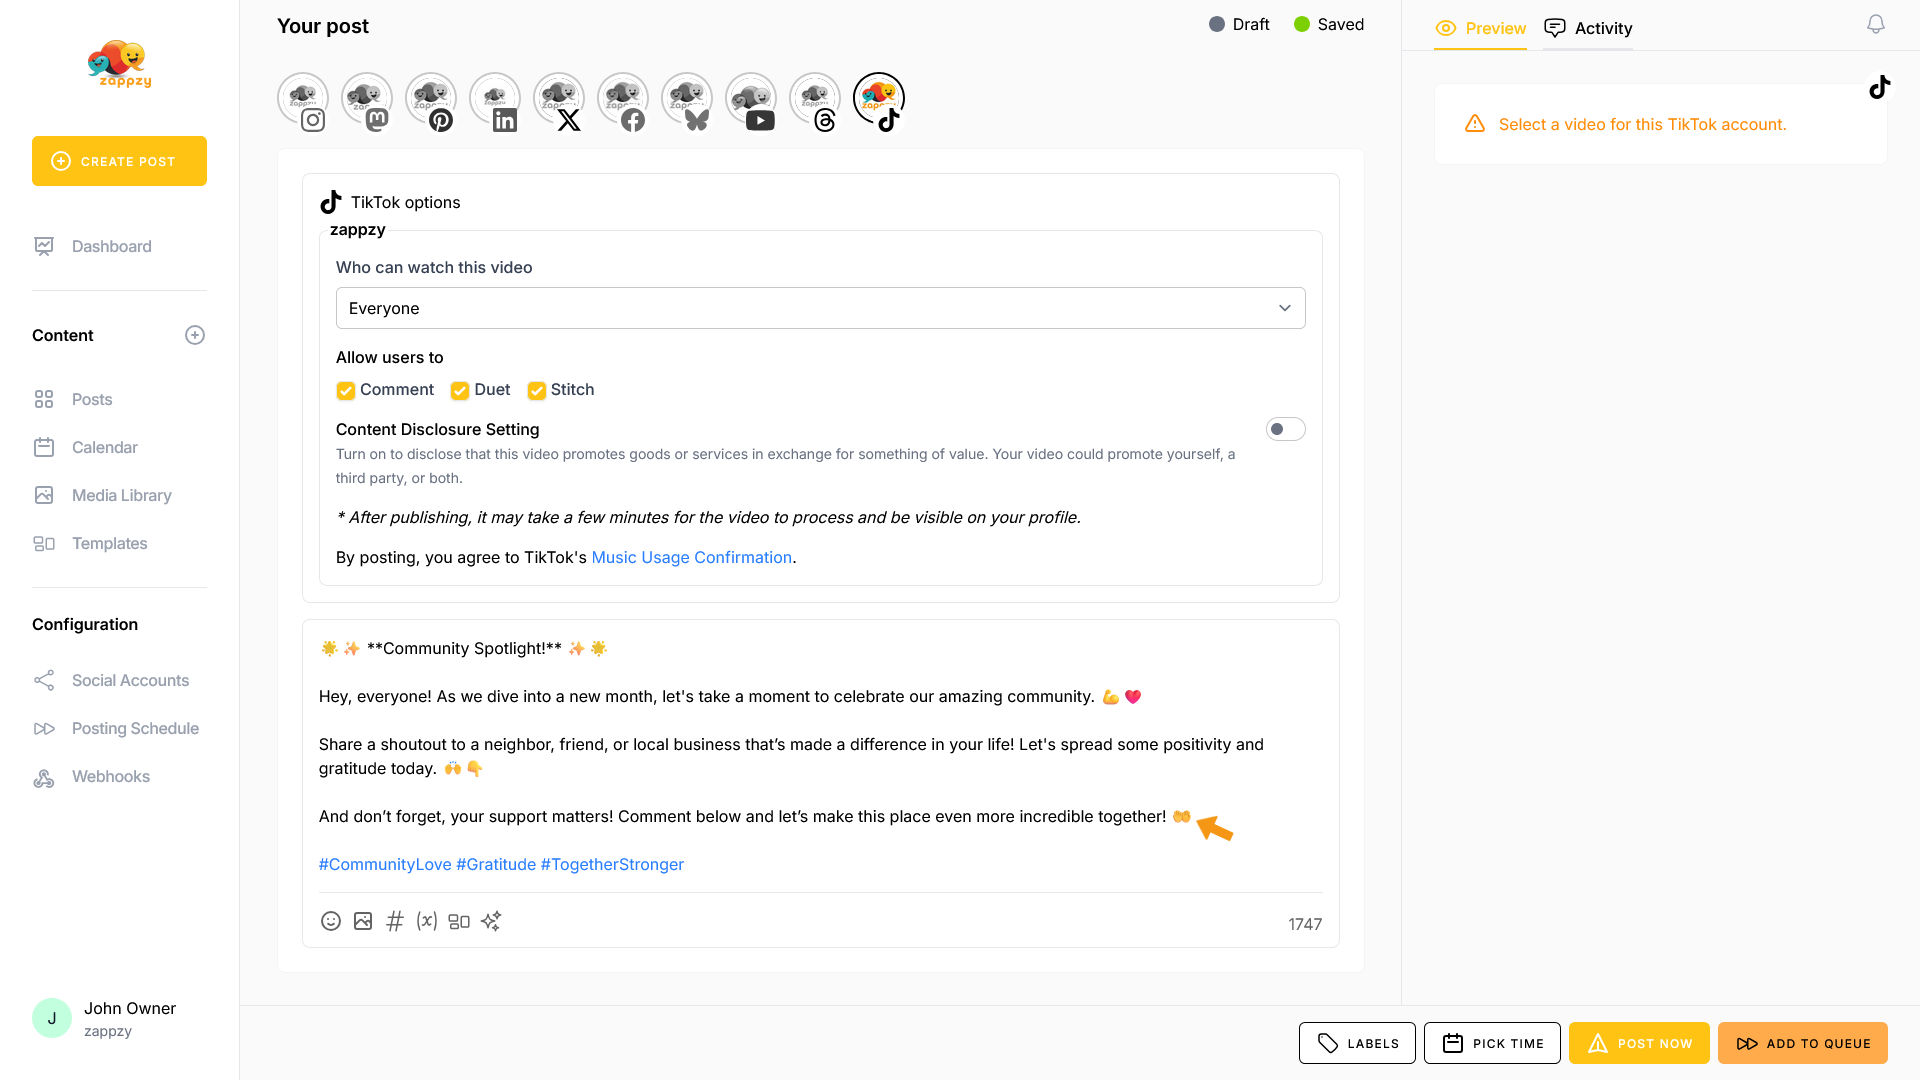
Type your post in the post editor (where it says "Start writing…"). We'll use example text for this guide.
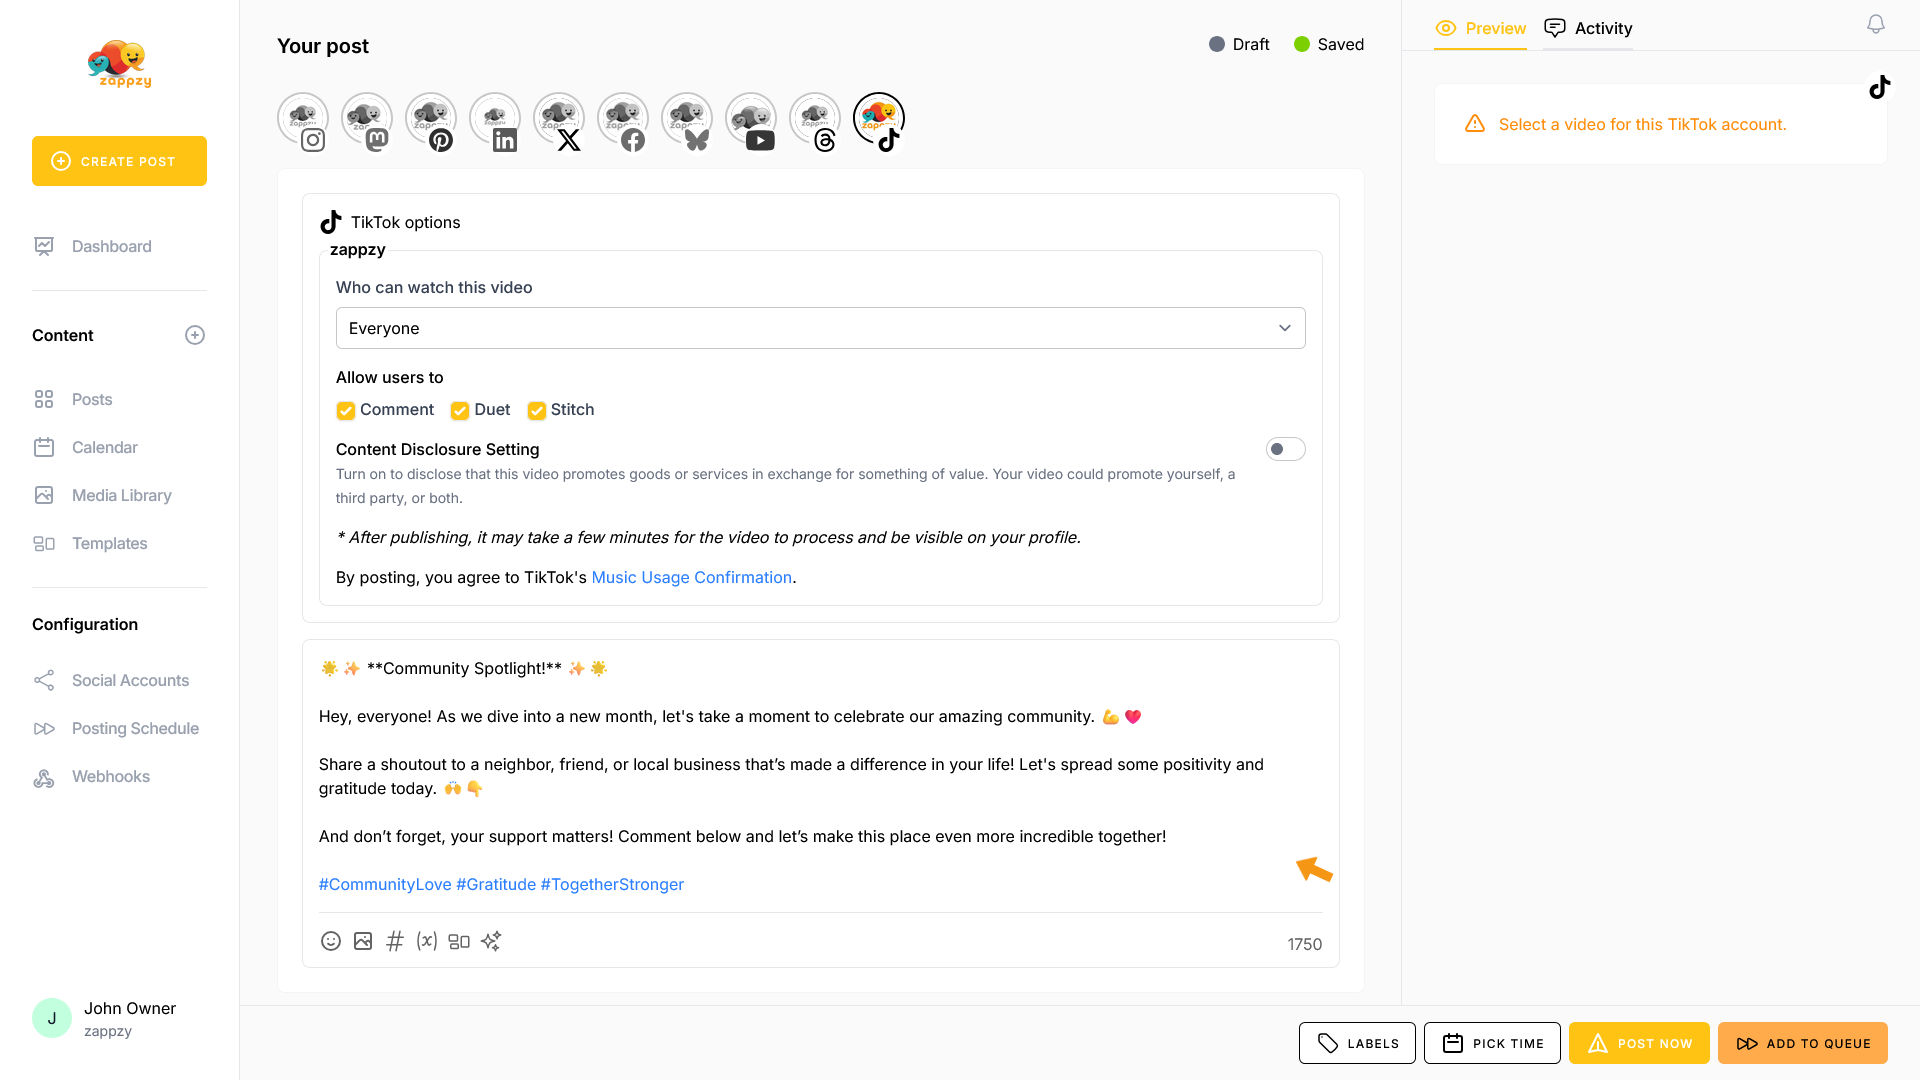
As you can see, we've added emojis to our text. You can do the same—no need to search for emojis online. Just click the emoji icon at the bottom of the post editor.
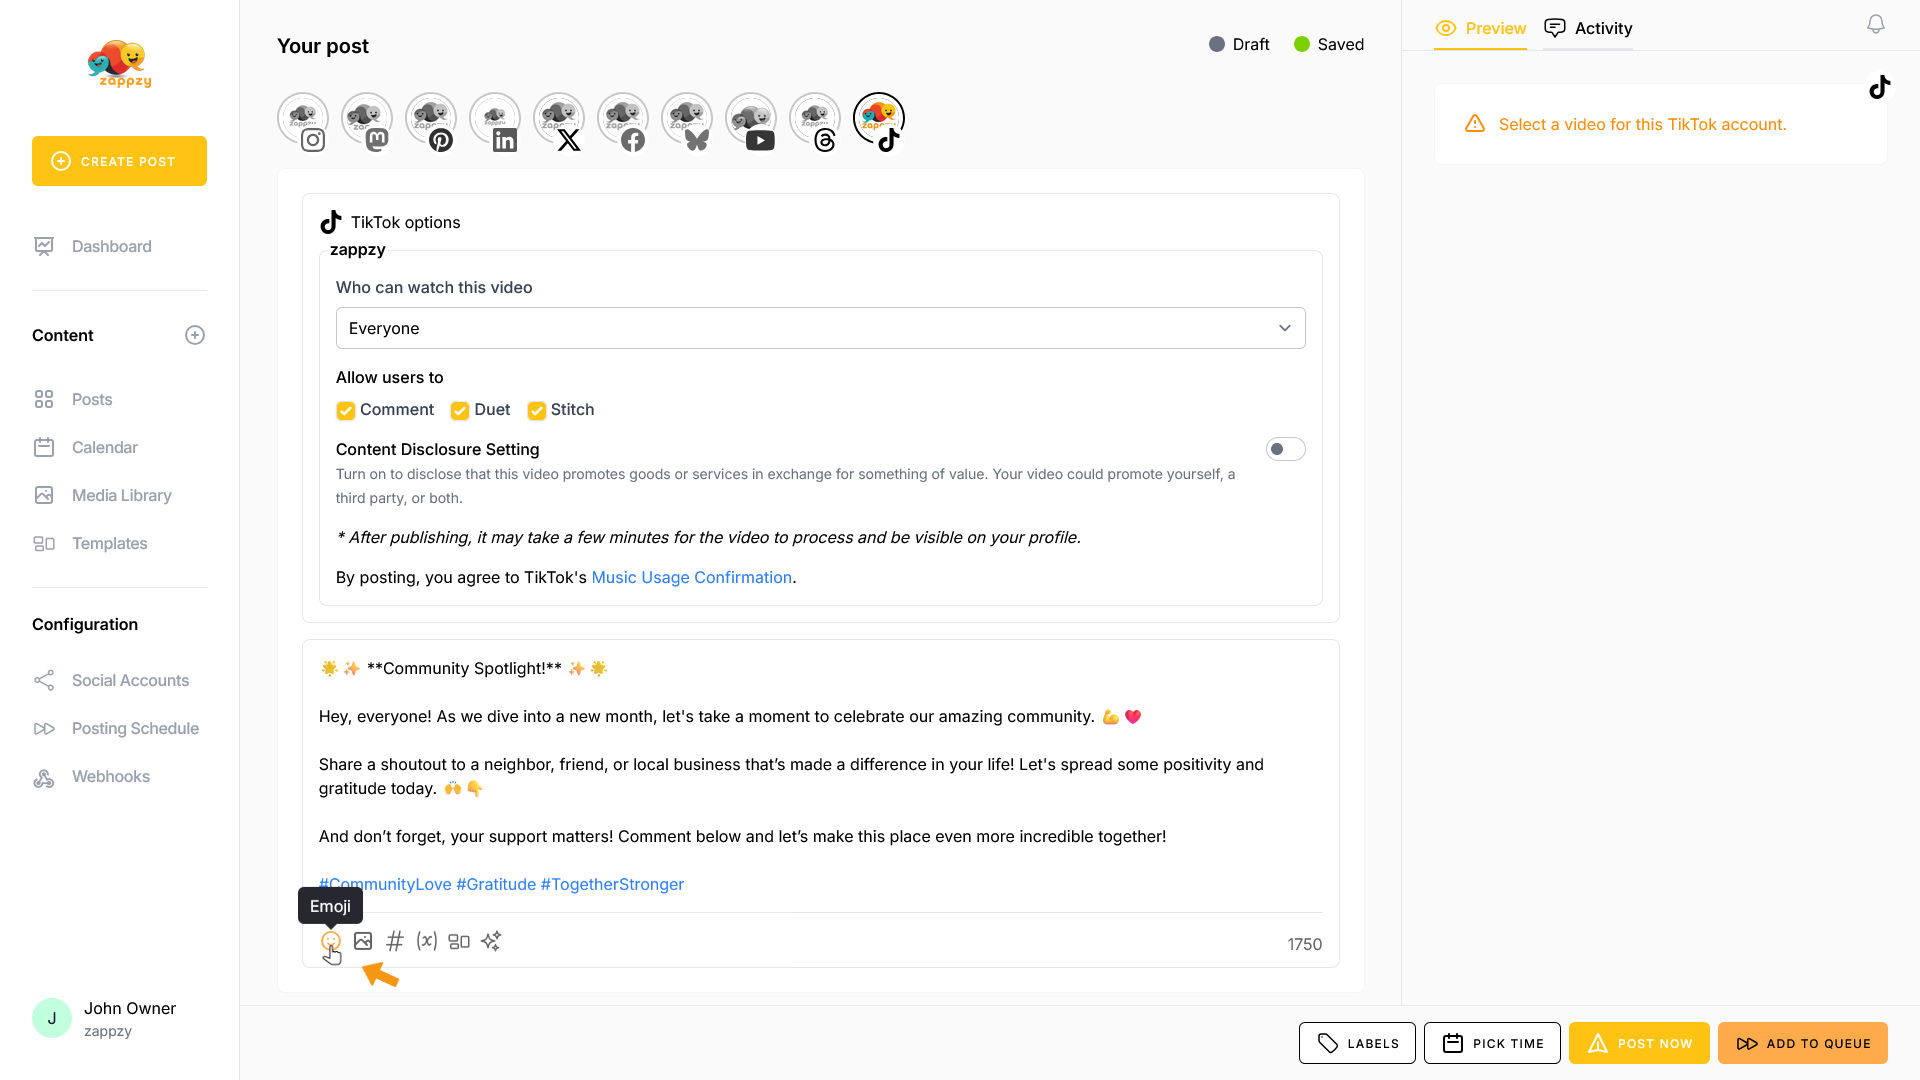
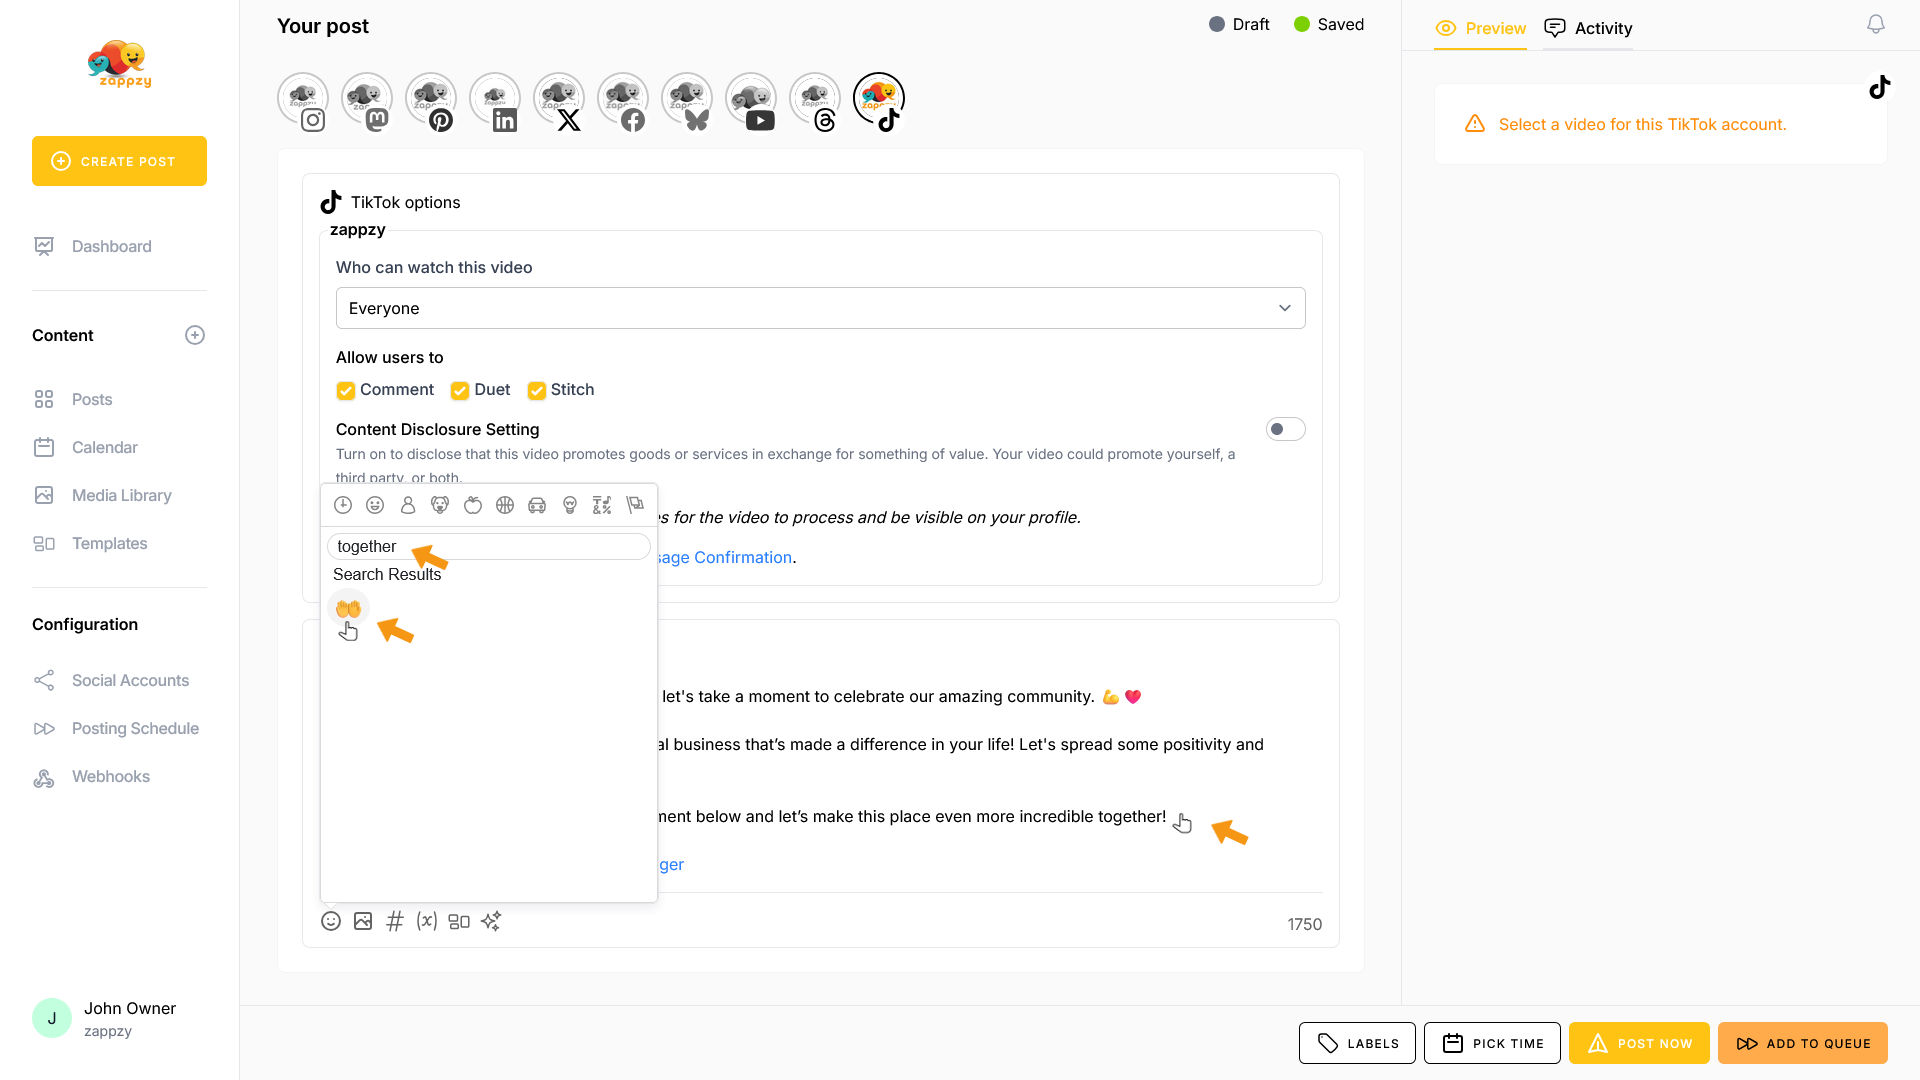
The emoji pop-up will open. You can scroll through all emojis, click on the categories at the top, or use the Search field to find a specific emoji.
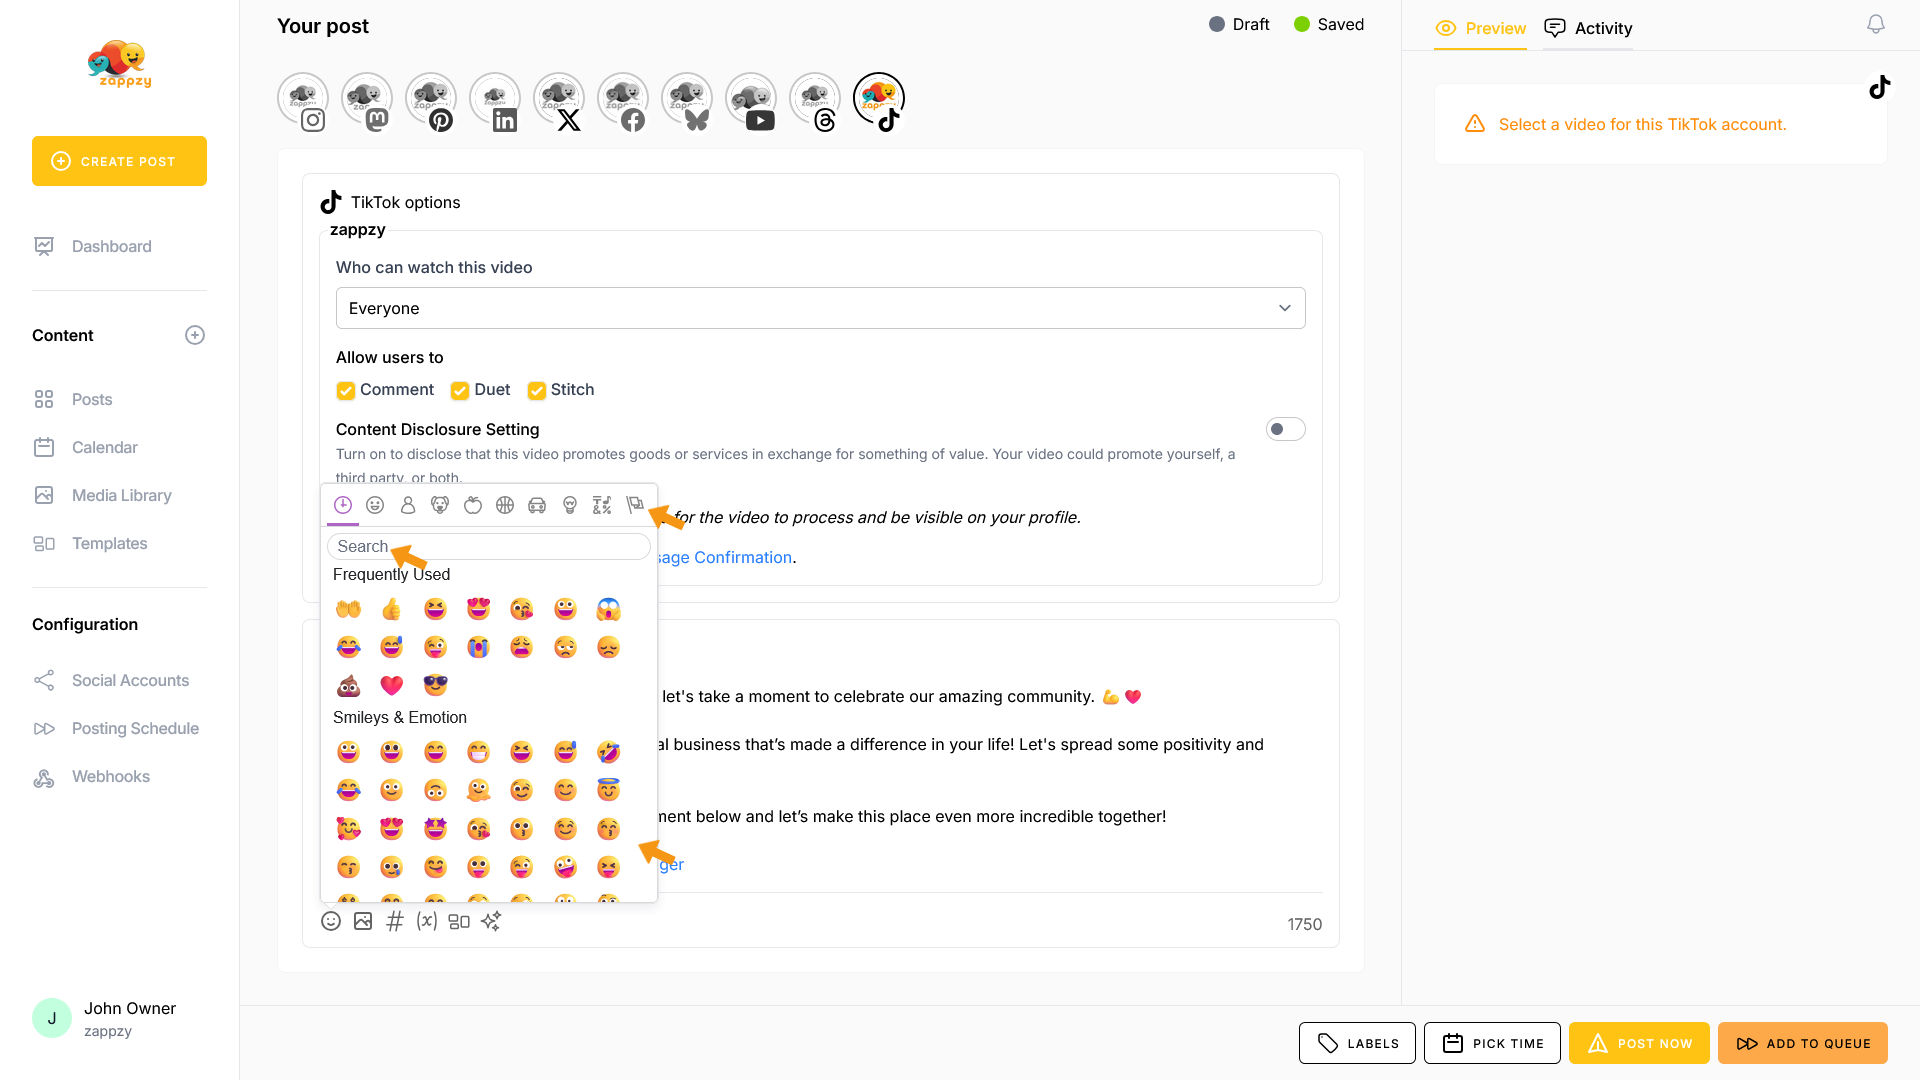
To insert an emoji into your text, click where you want it to appear, find the emoji you need, and click on it.
The emoji has been inserted into your text.
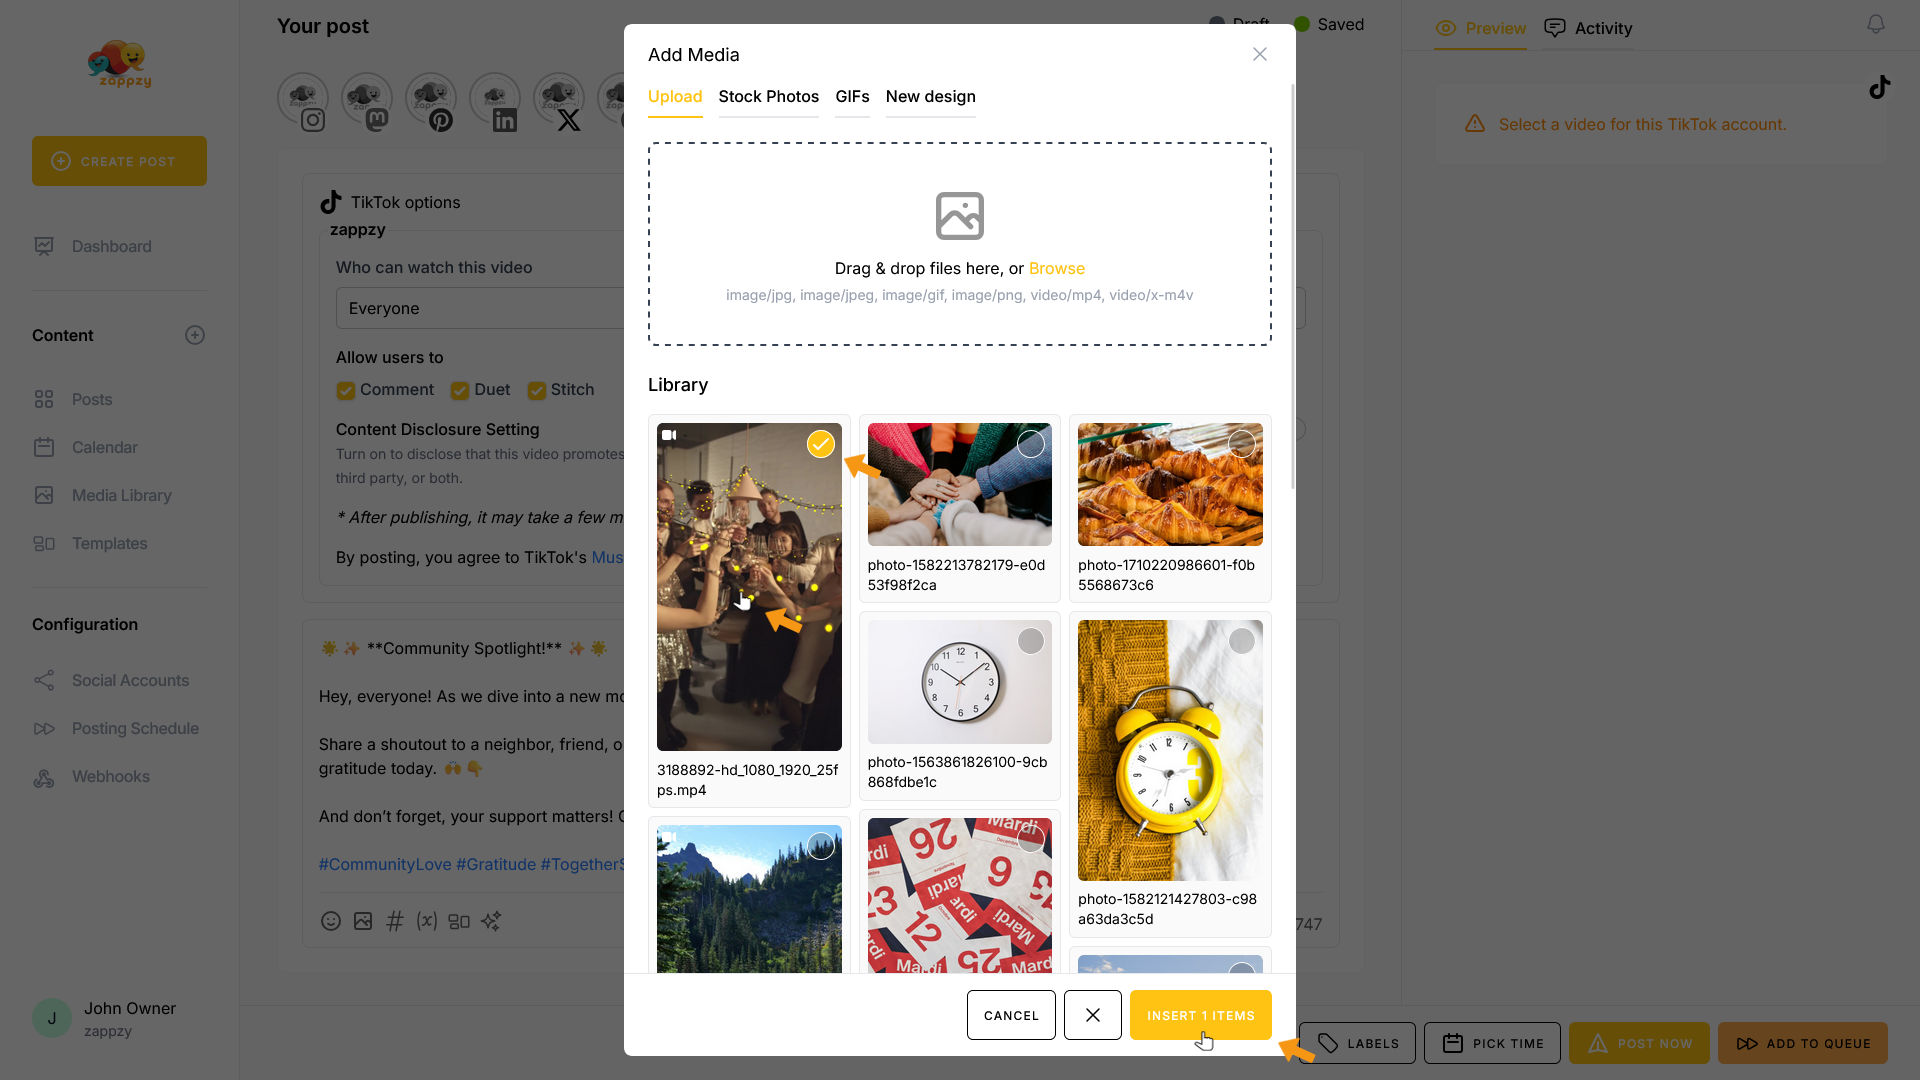
Now let's add a video. Click the media icon at the bottom of the post editor.

The Add Media pop-up opens. First, you'll see your Media Library—where you've uploaded your own videos.
You also have the option to upload videos using the Drag & Drop files field or create one with Adobe Express (New Design).
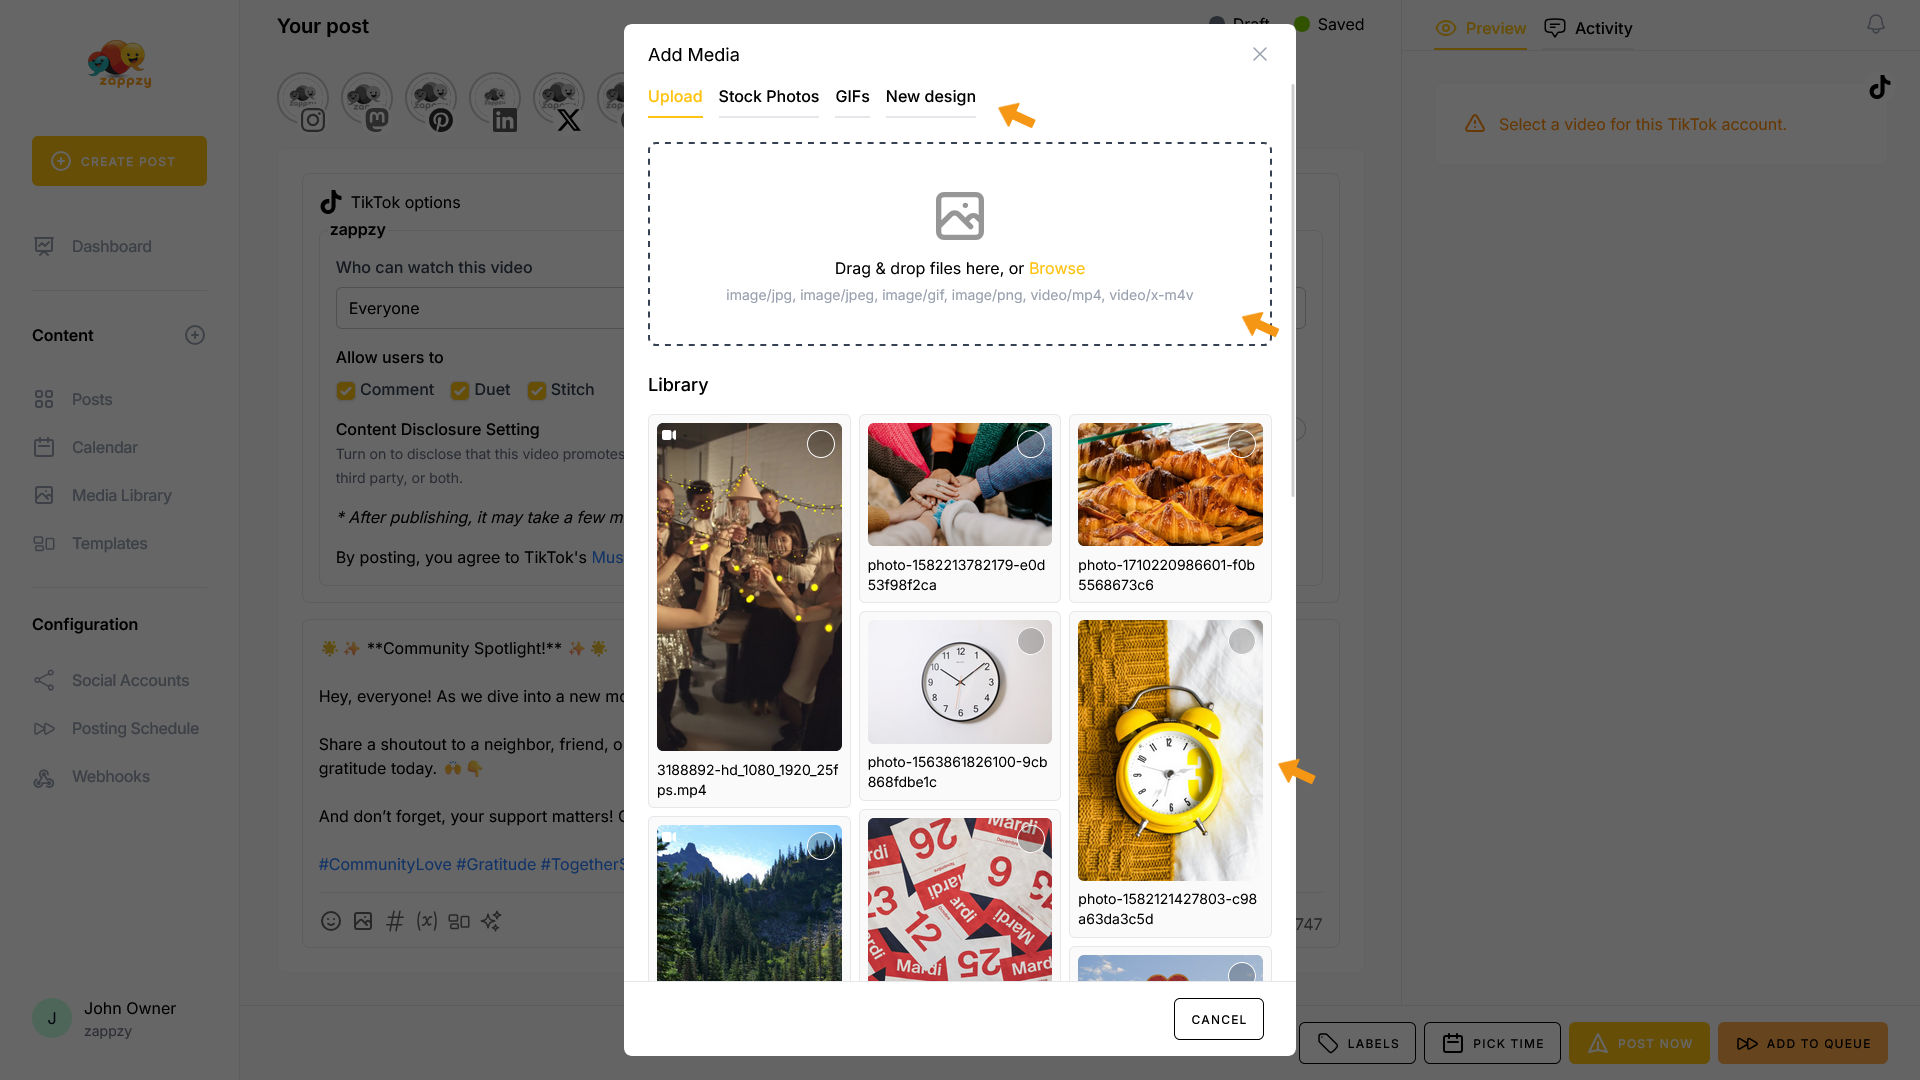
To select a video, click on it. It will be marked, and the INSERT 1 ITEM button appears at the bottom. Click on that button.
Your video has been inserted.
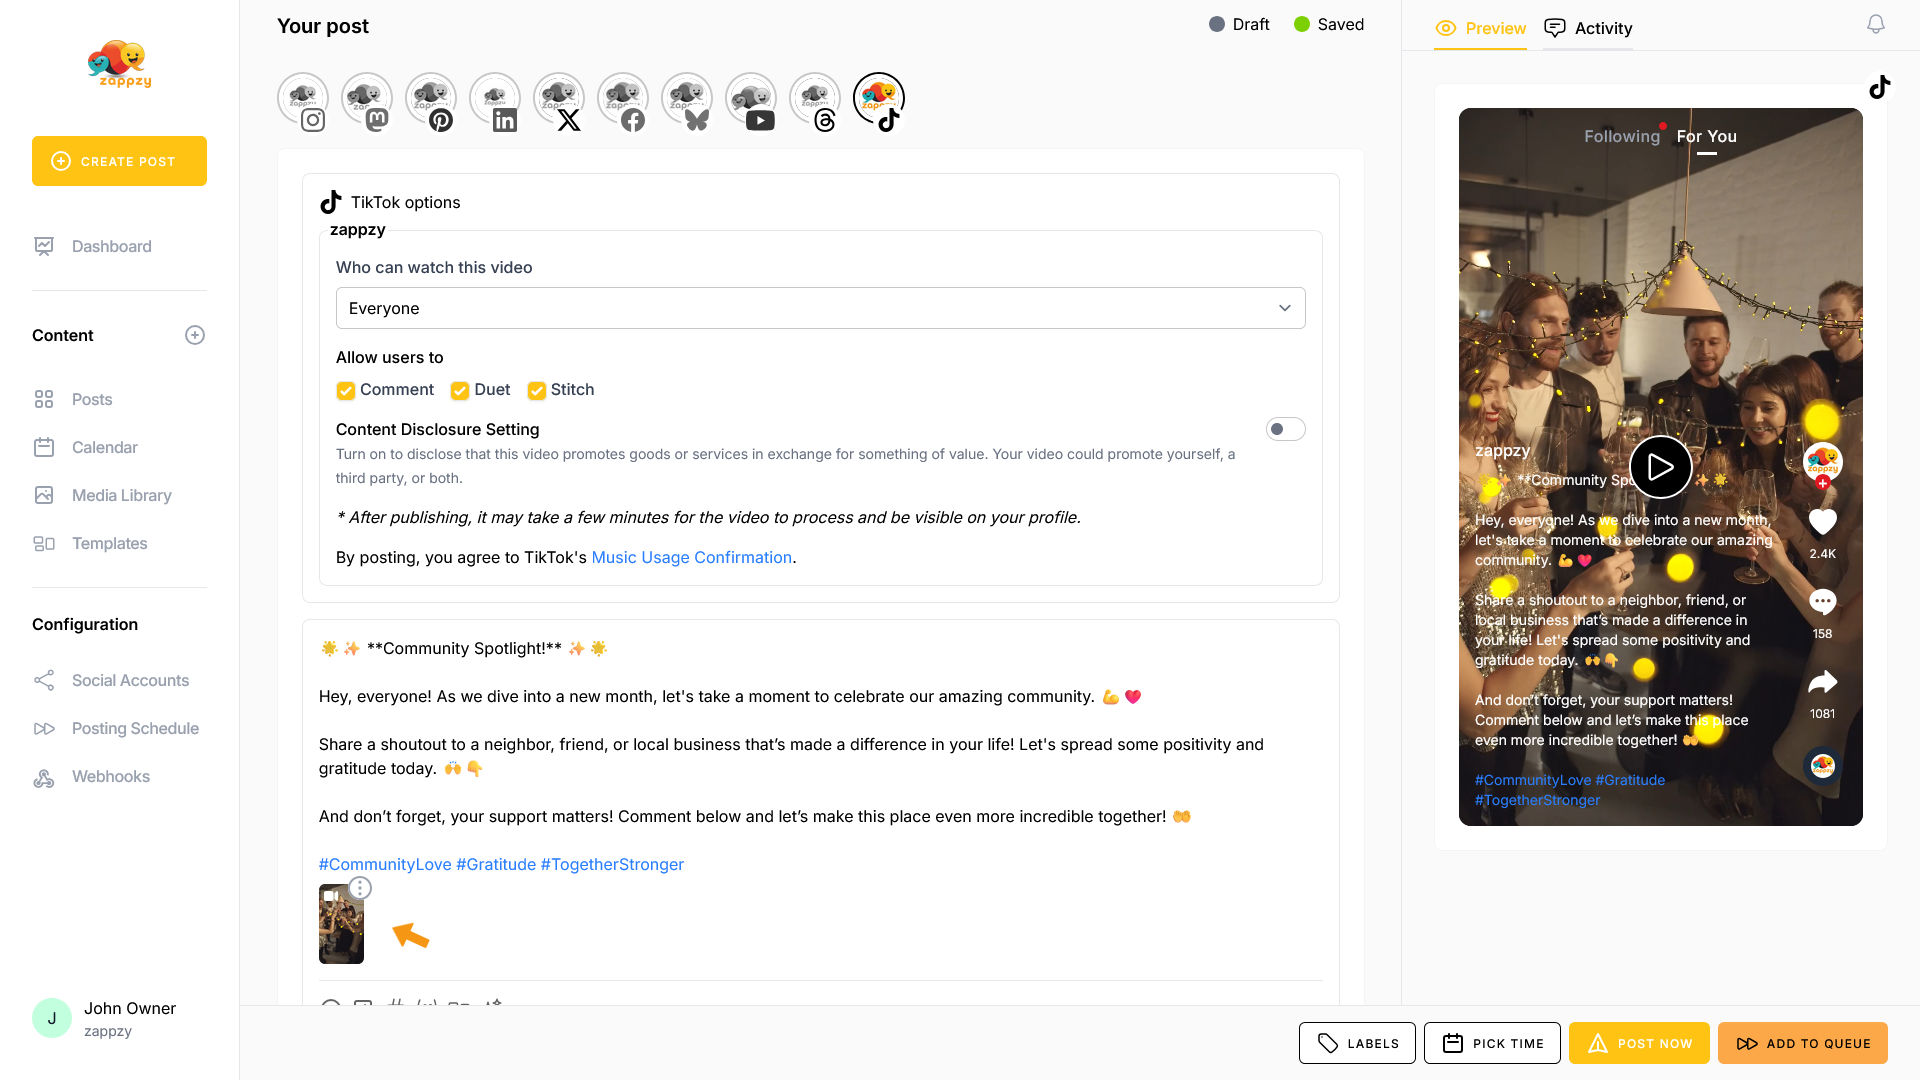
To remove a video, click the three vertical dots on it and select Remove.

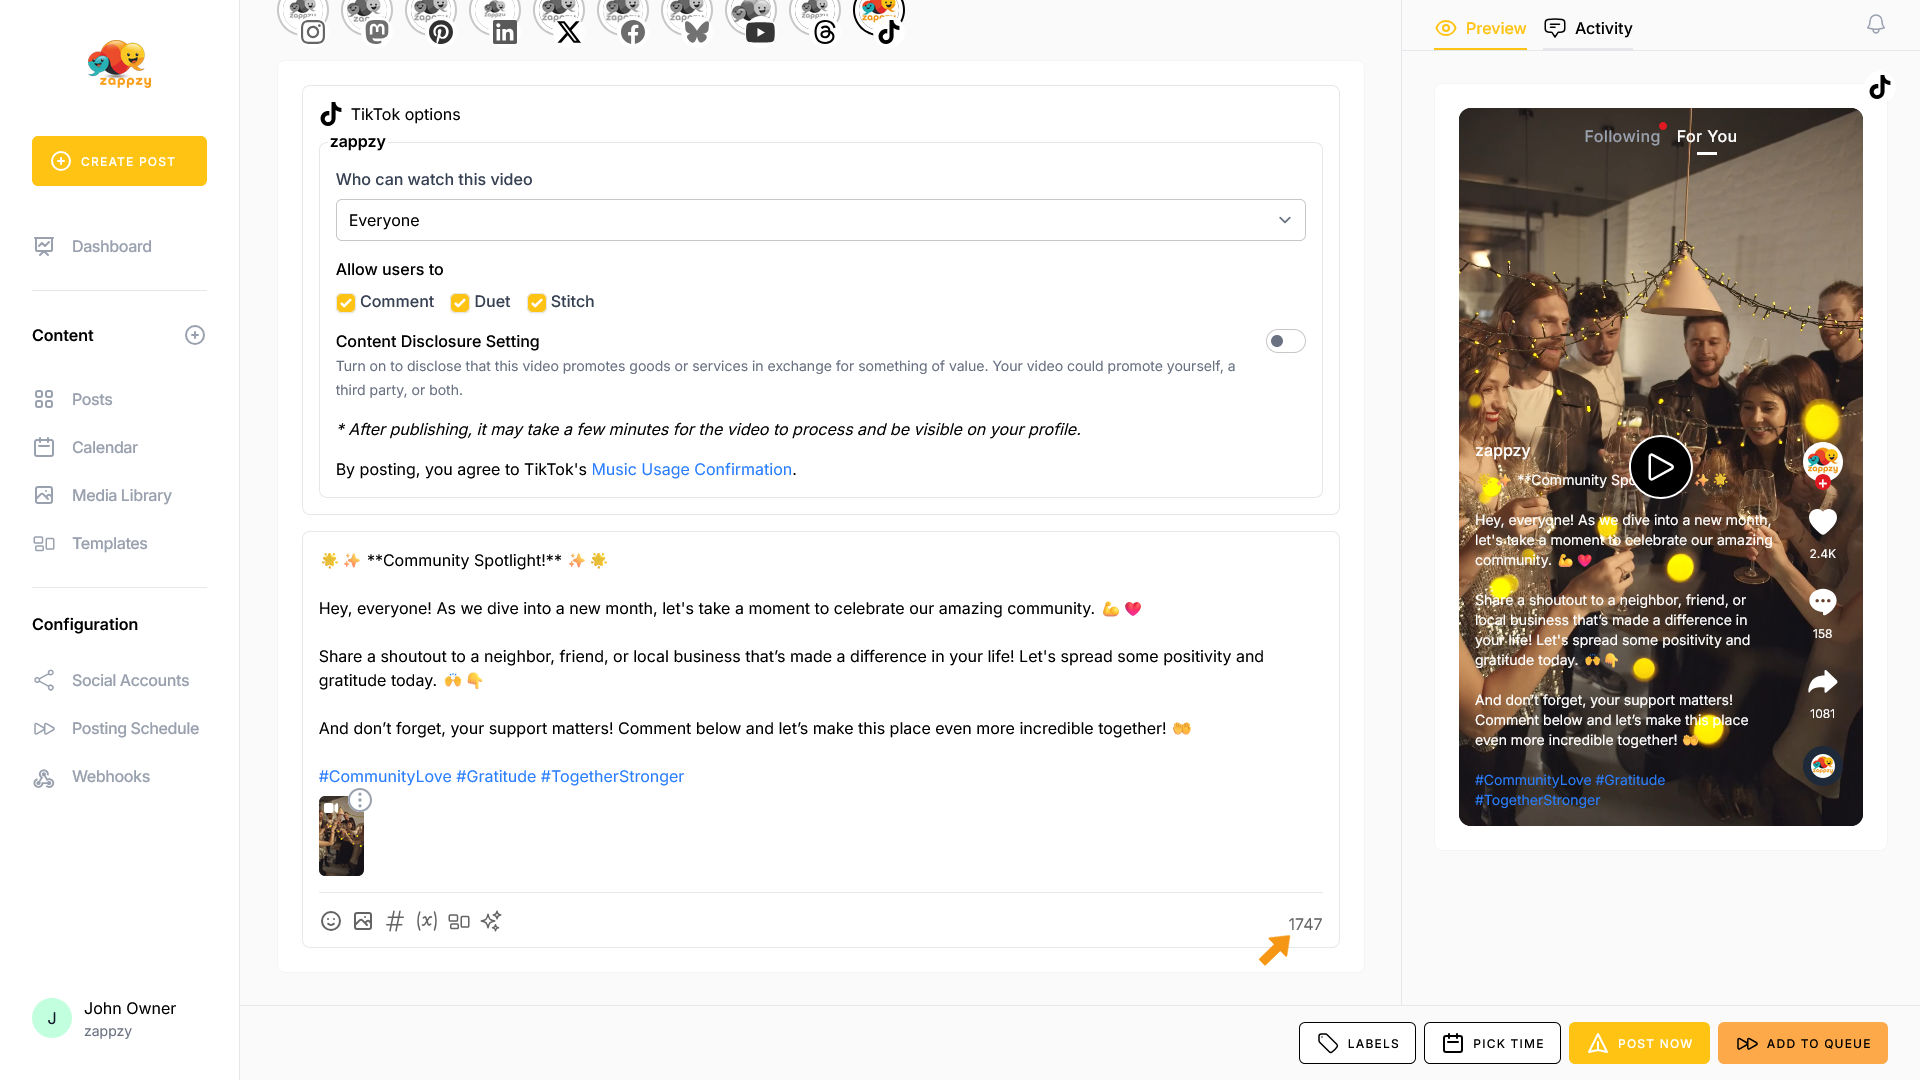
The other icons below the post editor are explained in separate support articles. Now, let's move to the right side. Here you'll see the character count for your post (this varies by platform).
You've probably noticed the preview on the right side. Under the Preview tab, you'll see exactly how your post will look on TikTok—so you can check formatting, layout, and media before publishing.

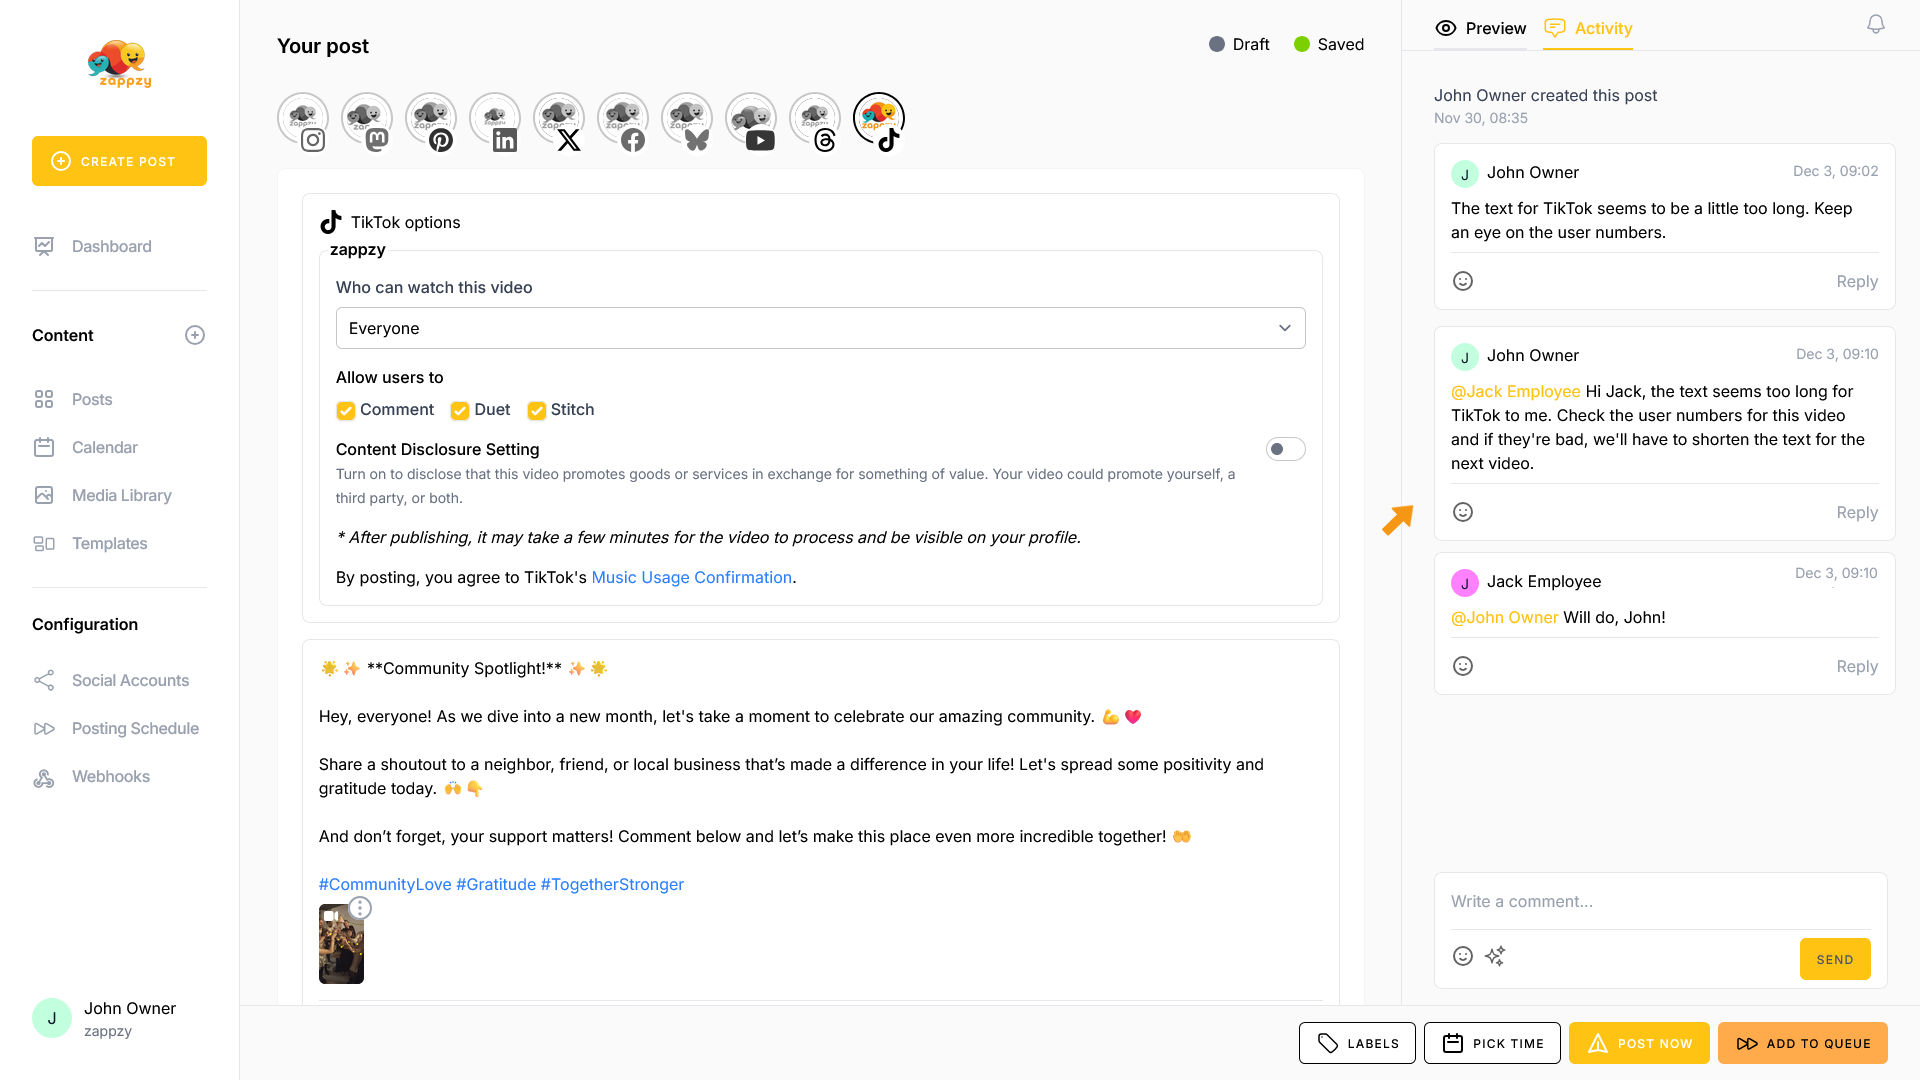
Next to it, you'll find the Activity tab. Click on it.

In the Activity tab, you'll see the post's history—who created it and when. In this example, the post was created by John Owner on Nov. 30 at 08:35. You can also add notes to track why specific changes were made.
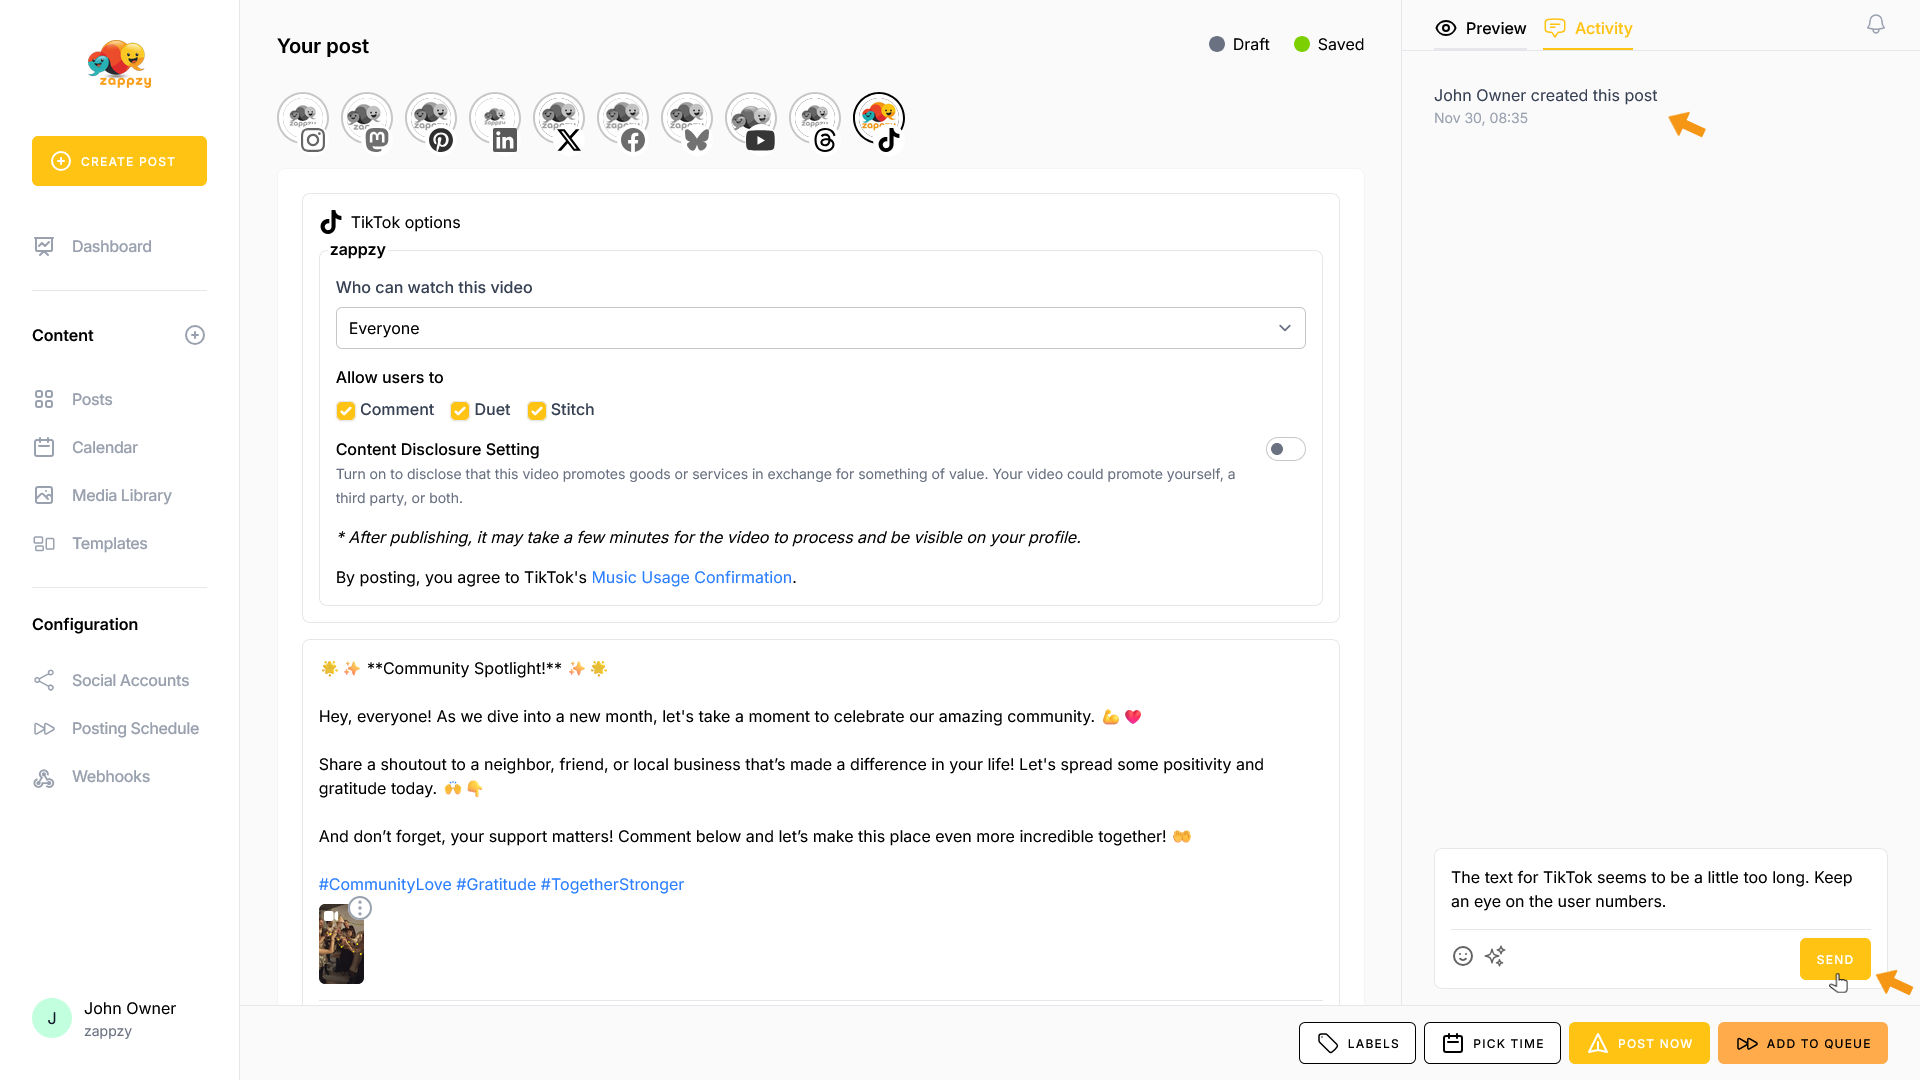
If you have the zappzy PERSONAL plan, this feature is for your eyes only—you can write notes to remind yourself of important details.
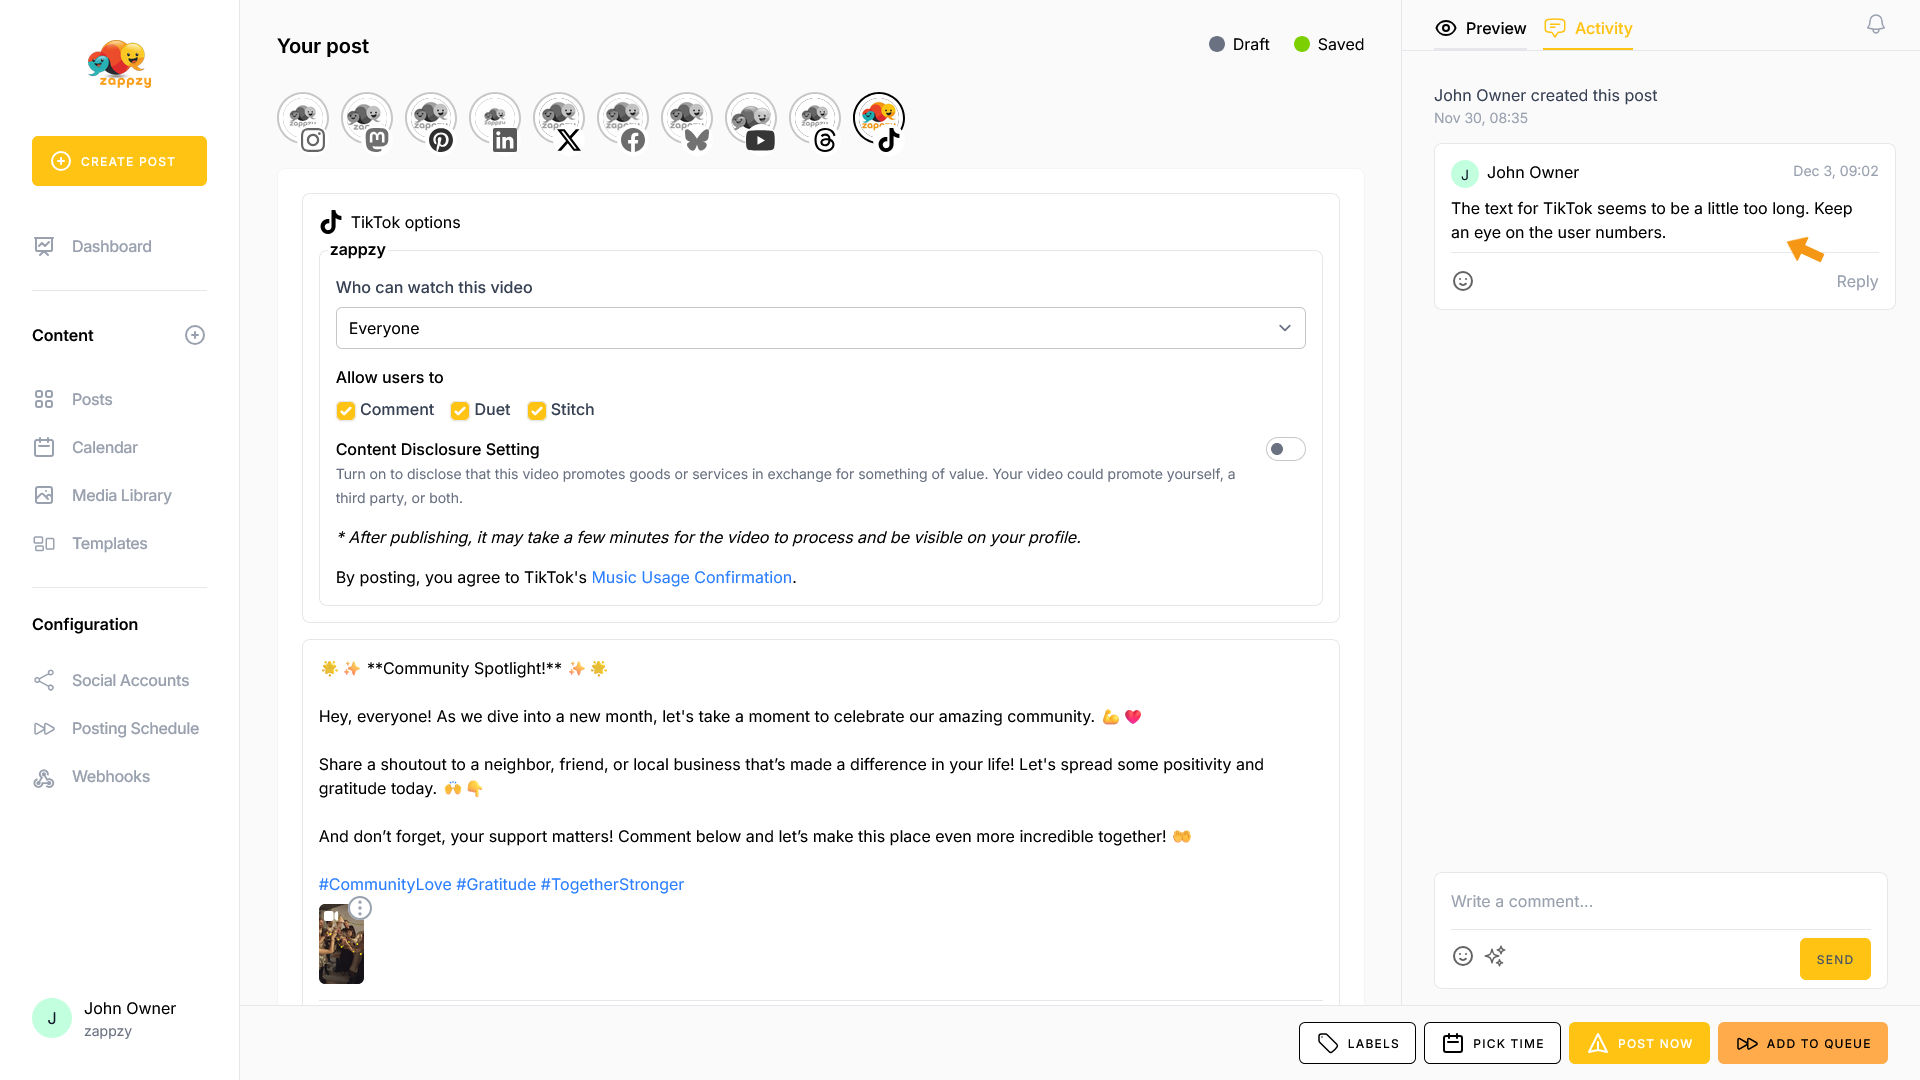
If you have the zappzy BUSINESS plan, the Activity tab is available to all team members. You can communicate with each other, leave feedback, and manage approvals—as explained in the article Approval: How to approve posts.
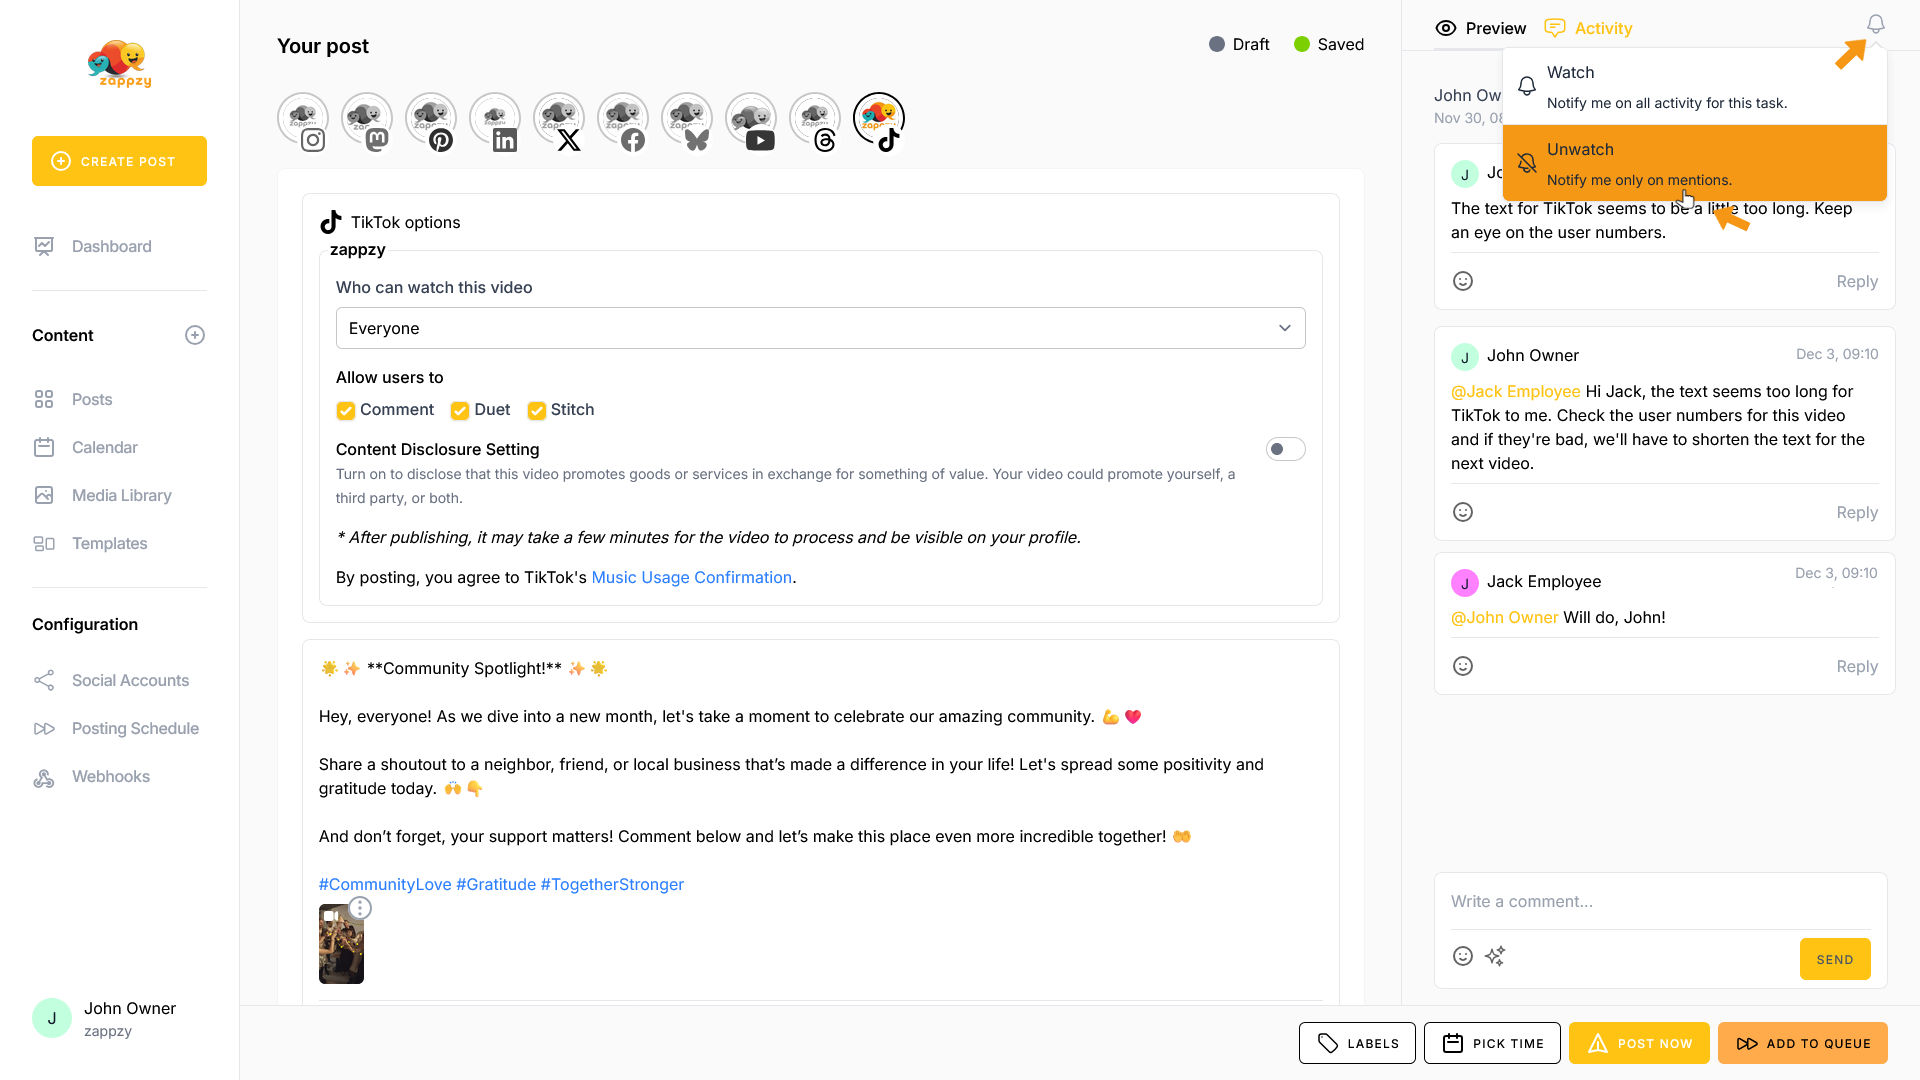
One last feature: at the top right, you'll see the bell icon. Here you can choose whether you want to be notified for all activity on this post or only when you're mentioned. This feature is especially useful for zappzy BUSINESS plan users.
Perfect! Now that everything is set up, you can either post immediately or schedule your post for later.
